Repair: 30 year-old coffee maker
/Intro
About 15 years ago, I inherited a vintage Black and Decker thermal carafe drip coffee maker, model TCM-411 from the 80's. It was given to me in payment for helping ready an apartment for sale.
I really like the TCM-411. It's very simple to operate (no timers or clocks to mess with), it makes good hot coffee, and the glass-lined, mirrored thermal carafe keeps the coffee hot for hours. The only control is a slide switch on the front that turns on the brewing process and which automatically turns it off once all the water has been drained from the reservoir tank. (PDF manual, Manuals Site)
MY BLACK & DECKER TCM-411 IN ALL ITS TIME-STAINED GLORY
And then one day...without warning..it stopped working! Almost entirely, but not quite. I could get it to brew coffee if I fiddled with it for 2-3 minutes.
This post is the story of how, through trial and error, I eventually restored this fantastic coffee maker to its former glory and fully expect to brew another 30 years of great coffee with it.
TL;DR
After much investigation and final confirmation by my friend Josh of what I suspected was the cause of my coffee maker's problems, I learned a valuable lesson:
Electrolytic capacitors eventually go bad
If the device that you are attempting to repair has electrolytic capacitors, and the device is more than, say, 10 years old, the capacitors are highly likely to be the cause of your problems.
The Full Deal
I'm no electronics expert -- more of an electronics dabbler. It's something that has always interested me and I've read many books on the subject, know enough to make mistakes, had conversations with actual experts and have started and sometimes completed many simple electronics projects.
My goal in this post is to describe the thought processes I went through when investigating what was wrong with my coffee maker and trying to repair it.
How coffeemakers work
All coffee makers basically have the same parts with some variations:
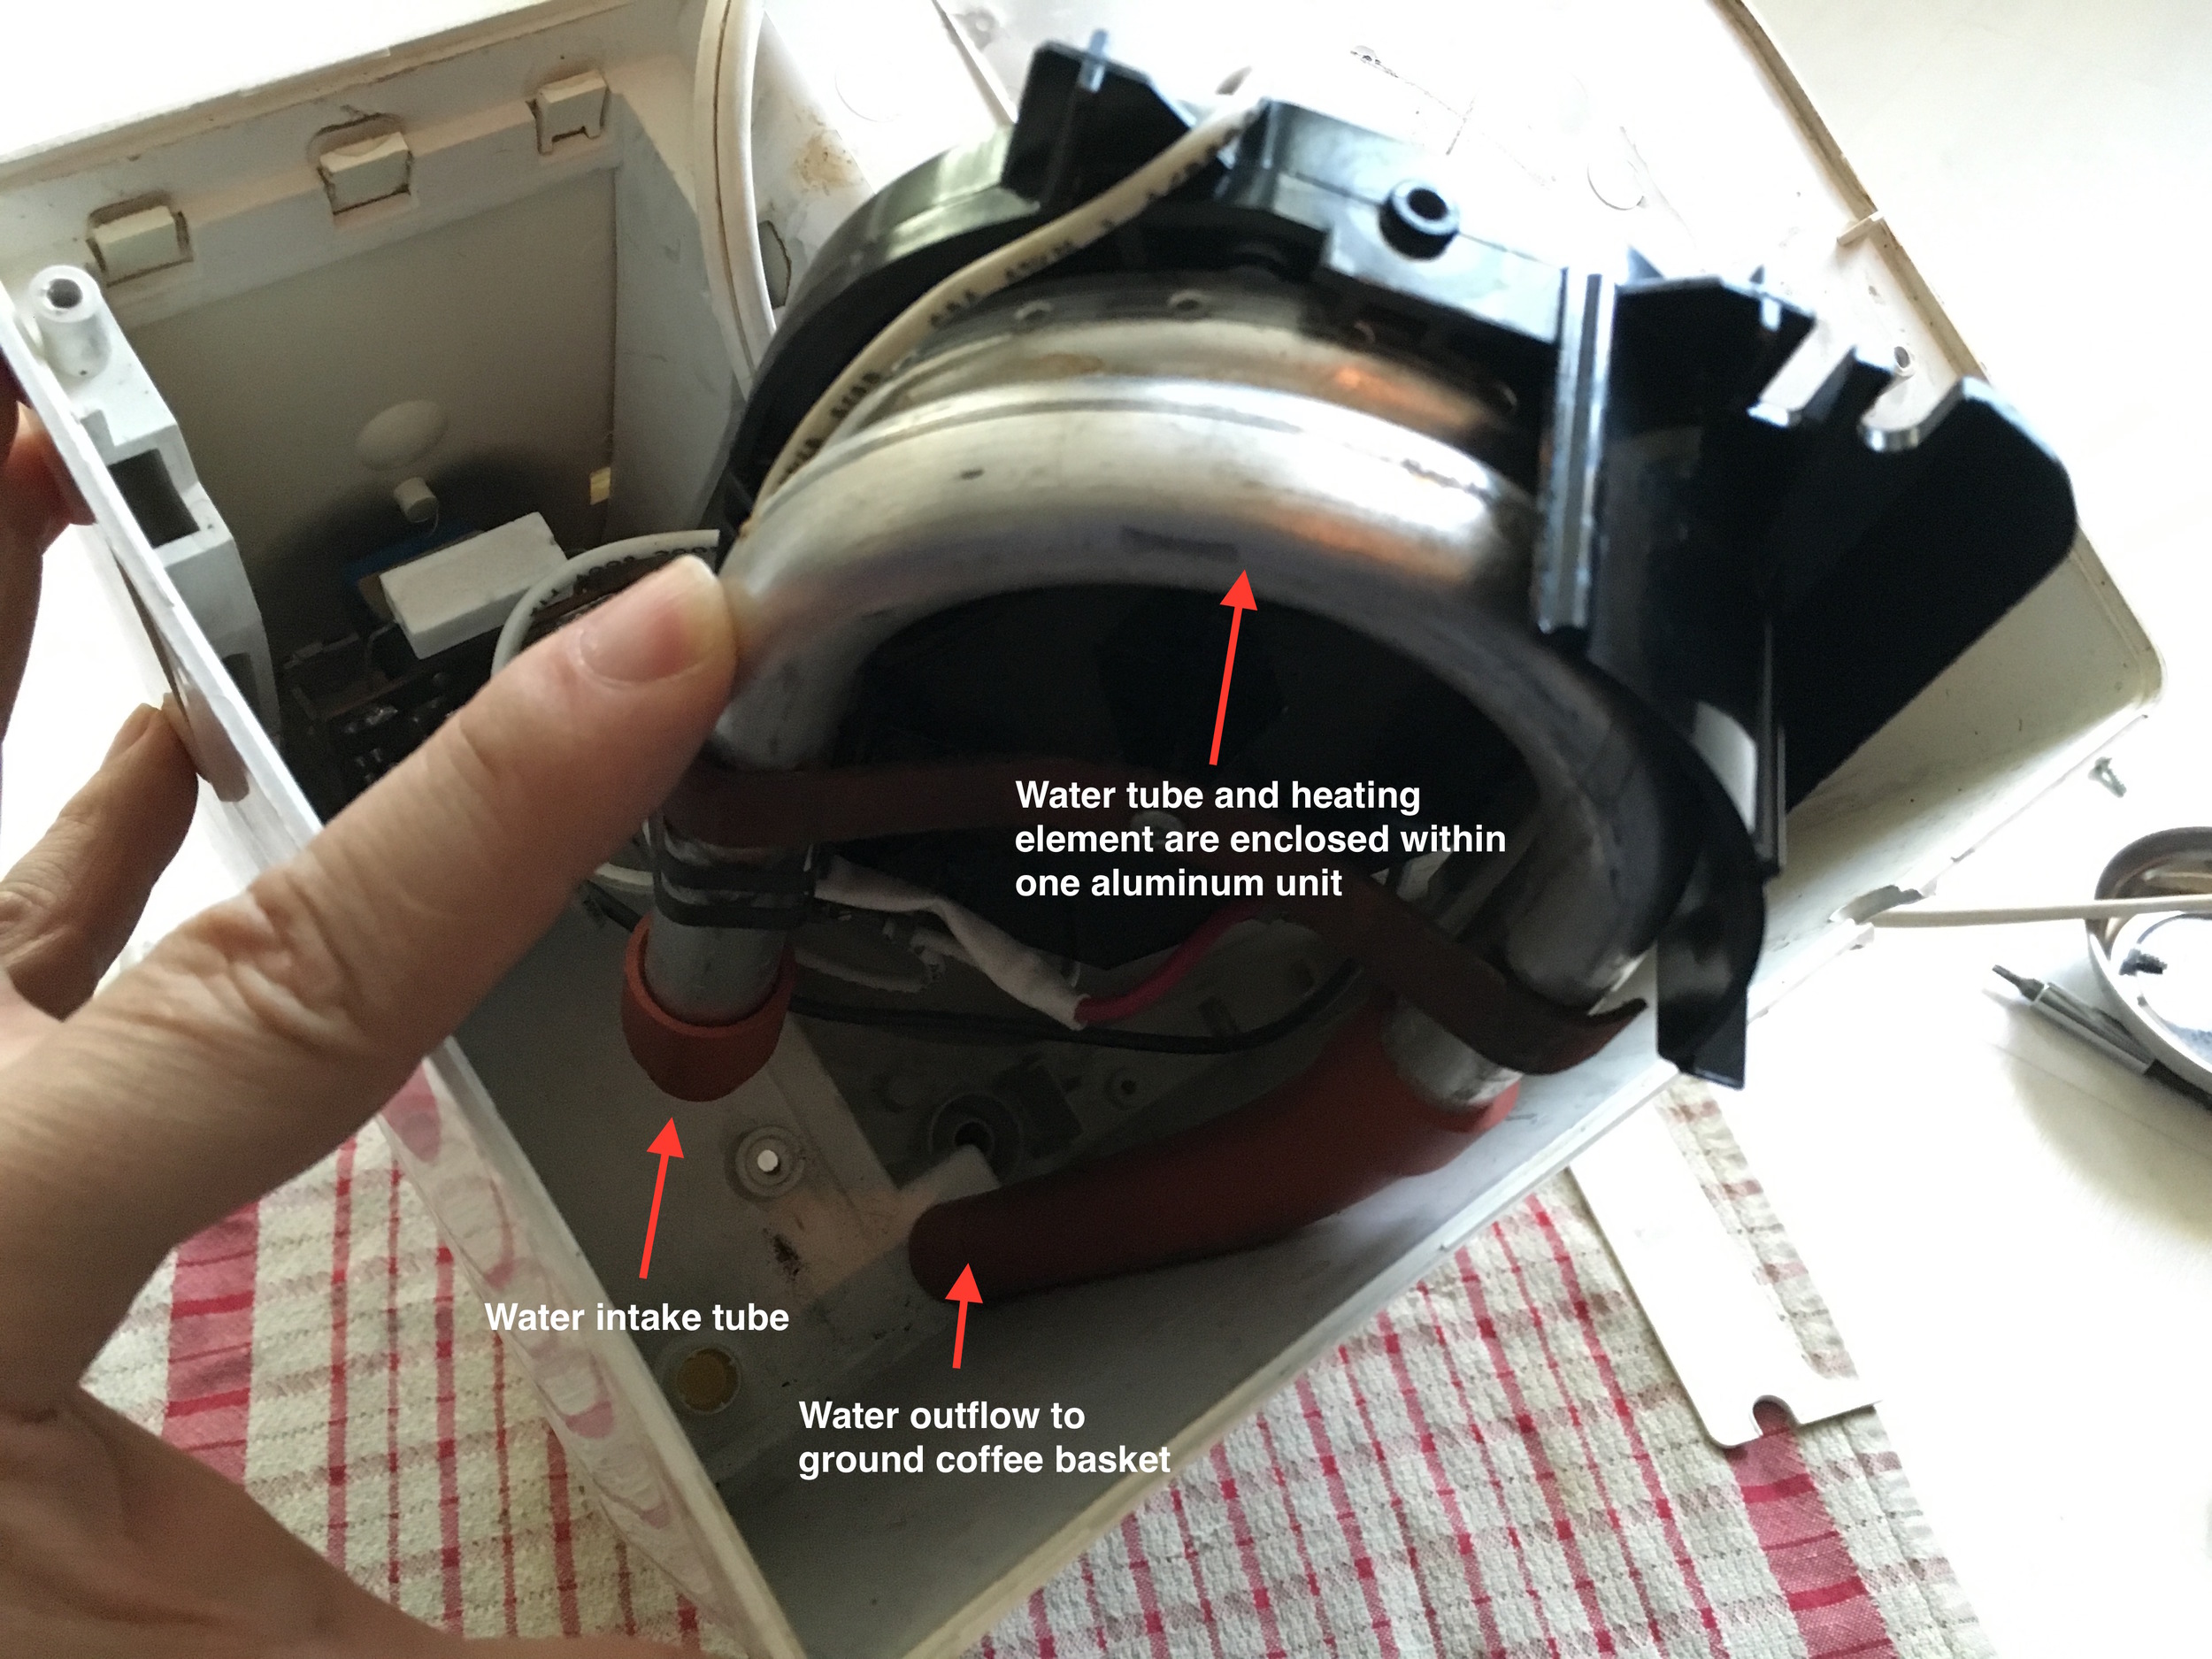
- Heating Element: A sealed resistor that heats the water.
- Thermostat: Device that shuts off the heating element once it reaches a threshold temperature.
- Temperature Fuse: To prevent coffee makers from causing fires if they malfunction, they all contain fuses that flow when a threshold temperature is reached.
- Water Reservoir: Holds the water.
- Ground Coffee Holder: This is the place where you put the ground coffee beans.
- Coffee Pot: Container to hold finished coffee.
The heated water flows over or through the ground coffee beans and into the coffee pot.
What went wrong with my coffee maker
When it's functioning normally, the TCM-411 coffeemaker is simple to use. After filling the water reservoir and adding ground coffee to the basket filter you start the brewing process by sliding the switch on the front on the coffeemaker to the right. A red LED next to the switch lights up and stays on. About two seconds later you hear "blurp" as the first bit of water is heated and rises up from the heating element and trickles over the ground coffee.
One day, when I slid the switch over to start brewing my coffee and it didn't "catch". The red LED went on for a moment and then shut off. After some experimentation, I realized that I could get the coffee maker to complete a brew cycle if I kept sliding the switch over, and as soon as it turned off, I would slide it over again. If I did that for around 3 minutes it would finally catch and remain on through the rest of the brew cycle.
I had two theories as to why the coffee maker wasn't working:
- Maybe the water reservoir outflow is plugged up? This was my first theory. I thought water wasn't getting into the heater, causing the heater to shut off by whatever mechanism that made it shut off during normal operation. I realized that this theory was incorrect once I figured out that fiddling with the sliding switch would eventually lead to a complete brew cycle.
- Maybe the thermostat is broken? This was my second theory, and I was convinced I was right (oh, but I wasn't). It just seemed right that a broken thermostat would cause the coffee machine shut off prematurely.
Disassembly and Investigation
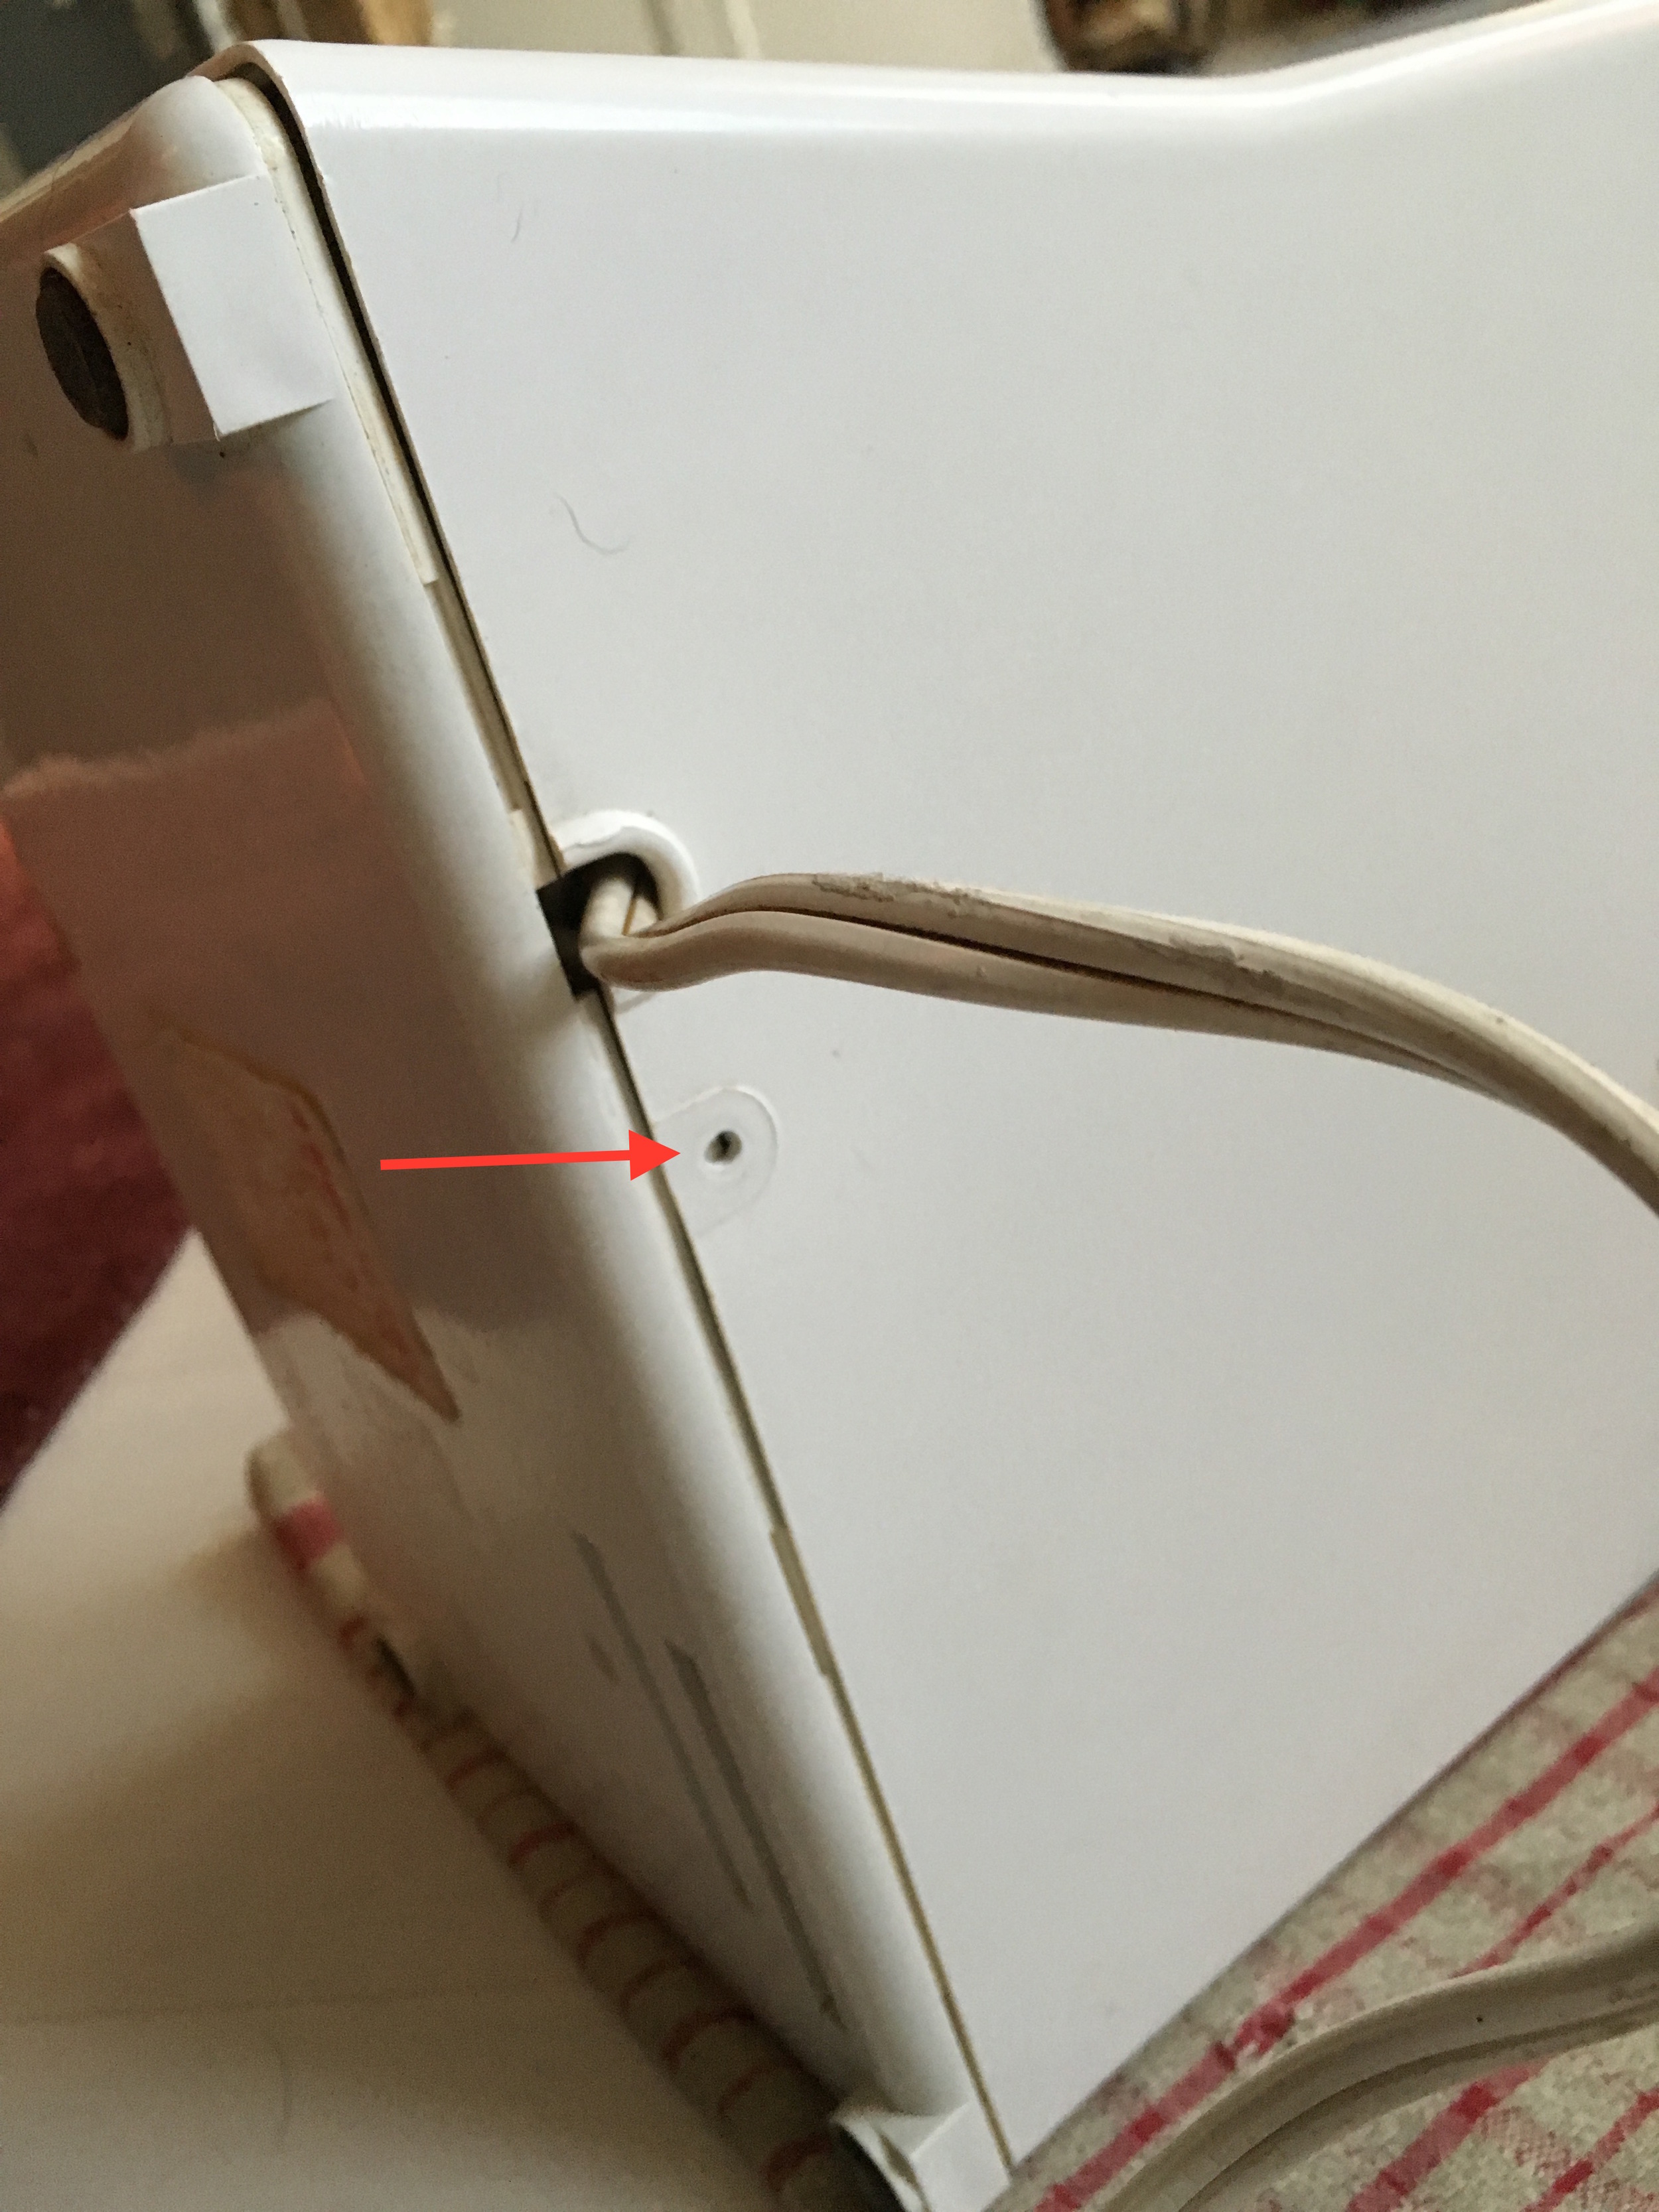
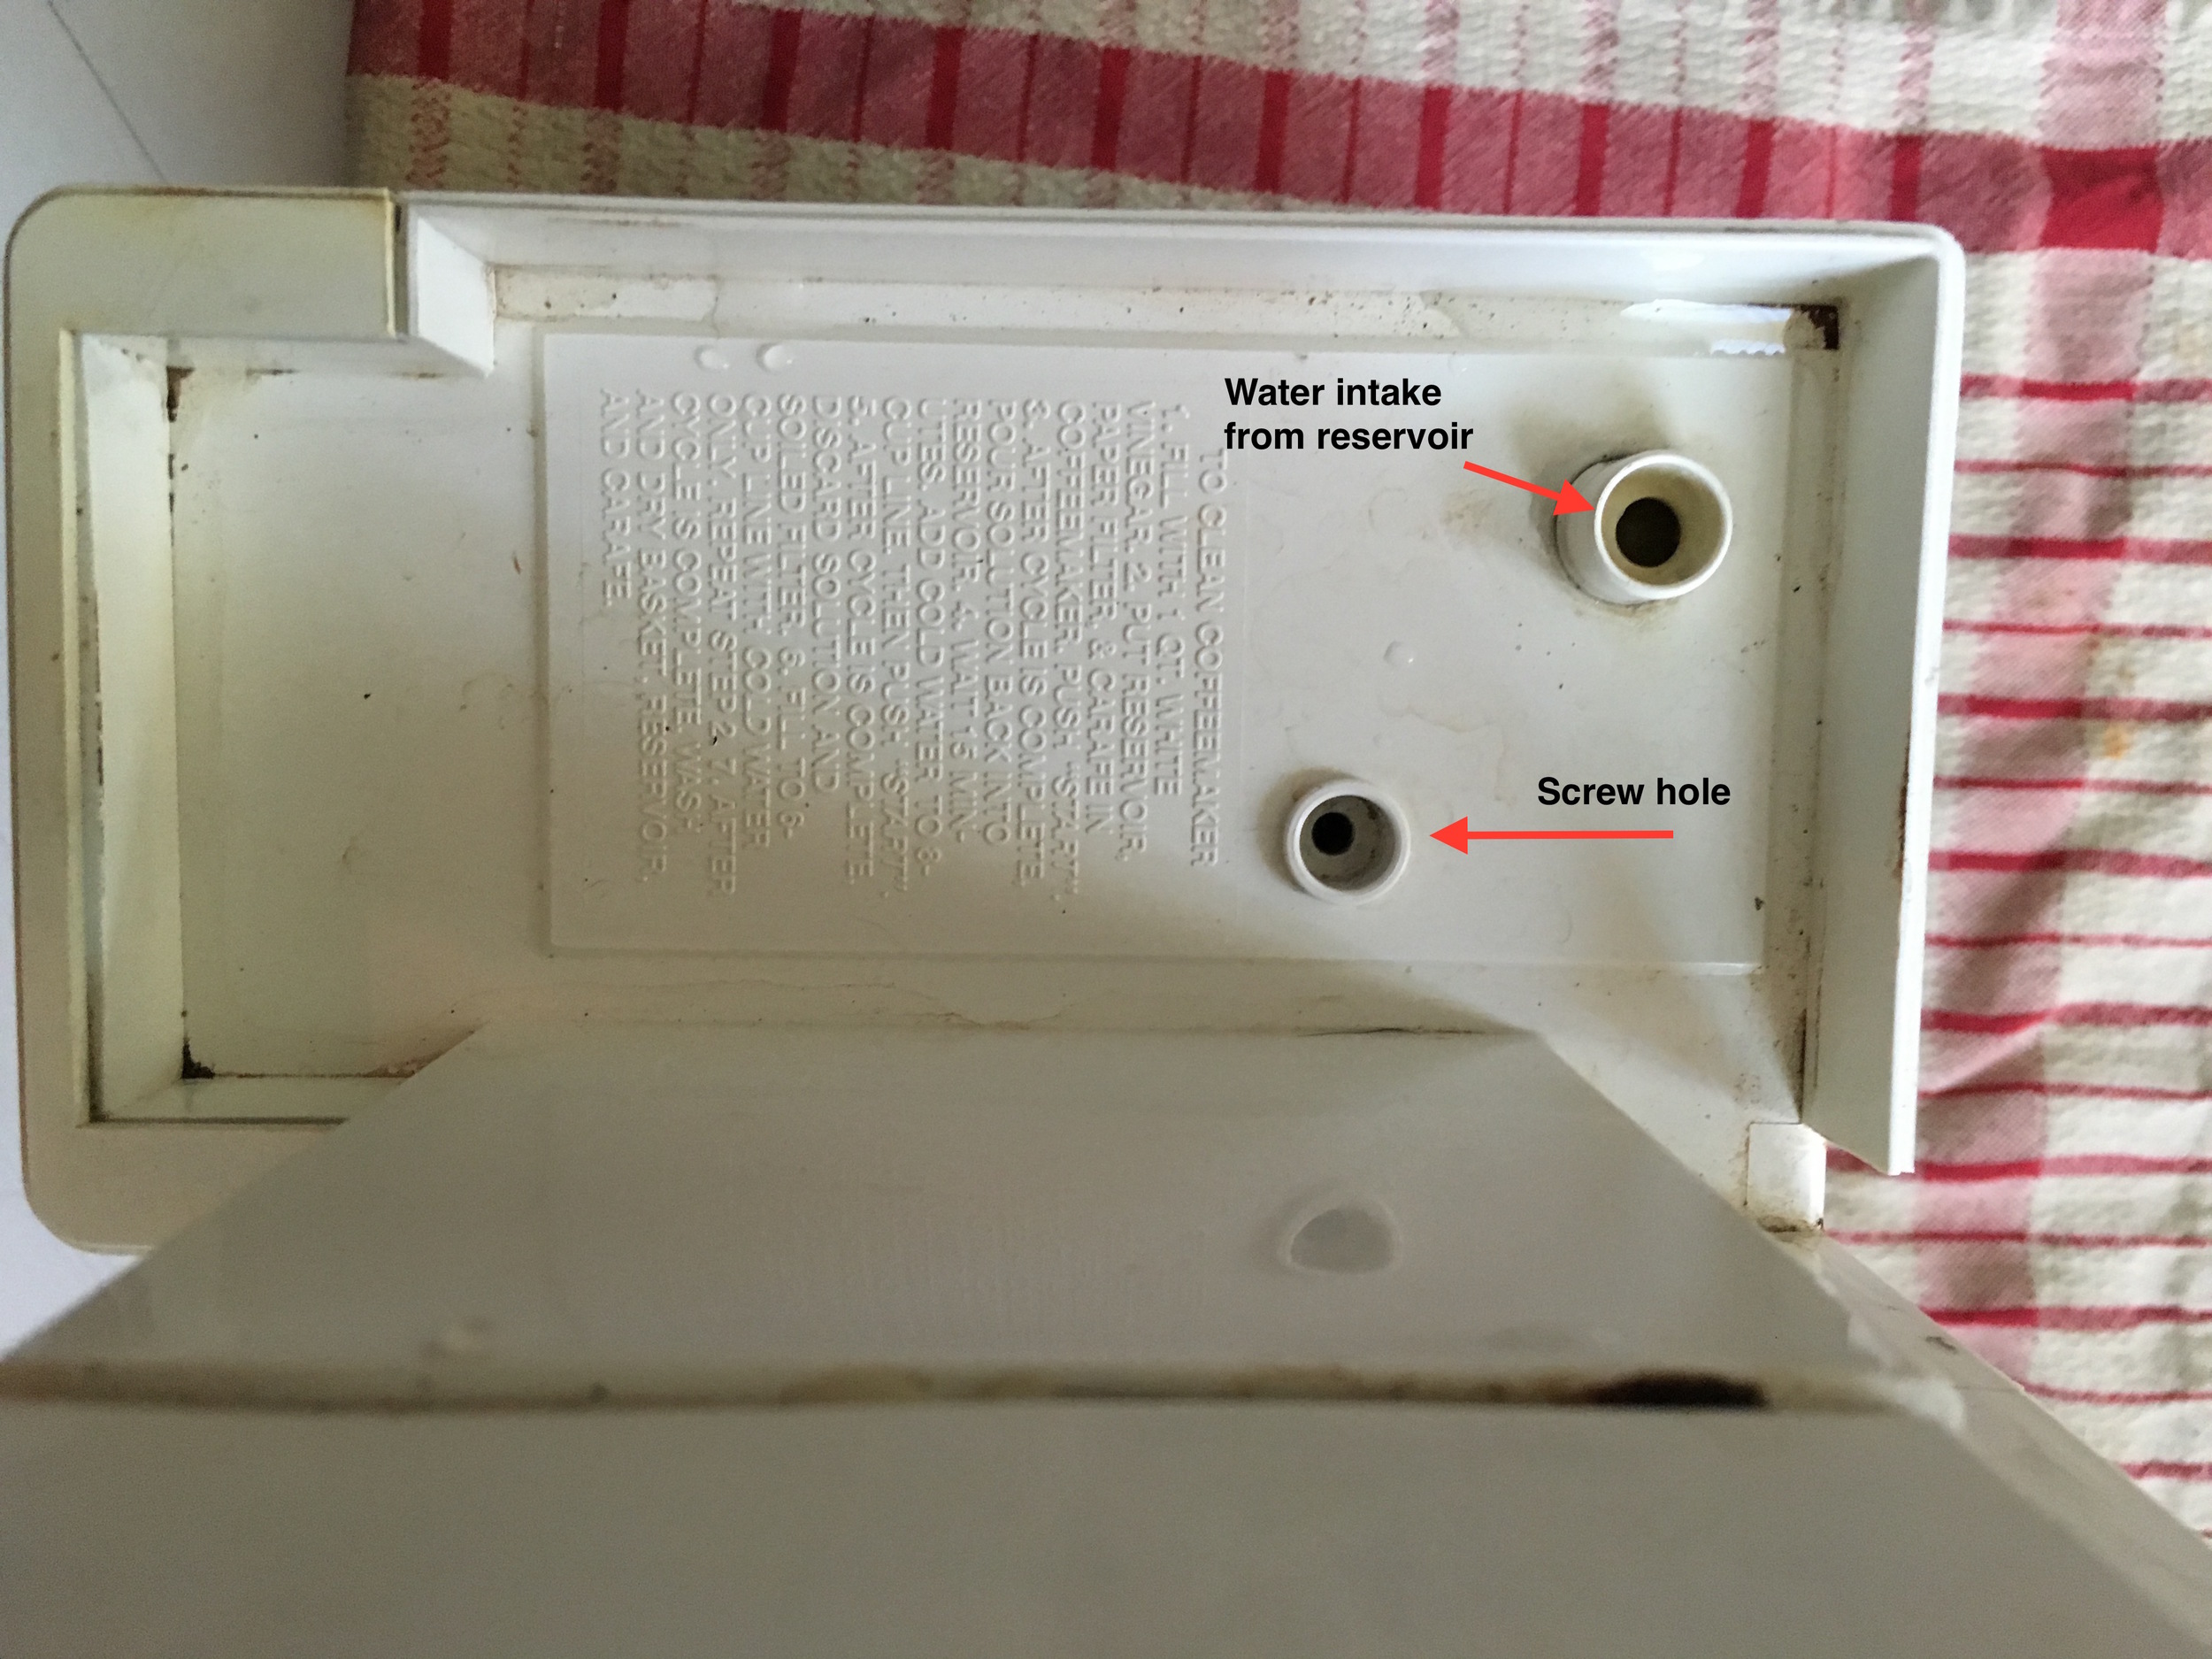
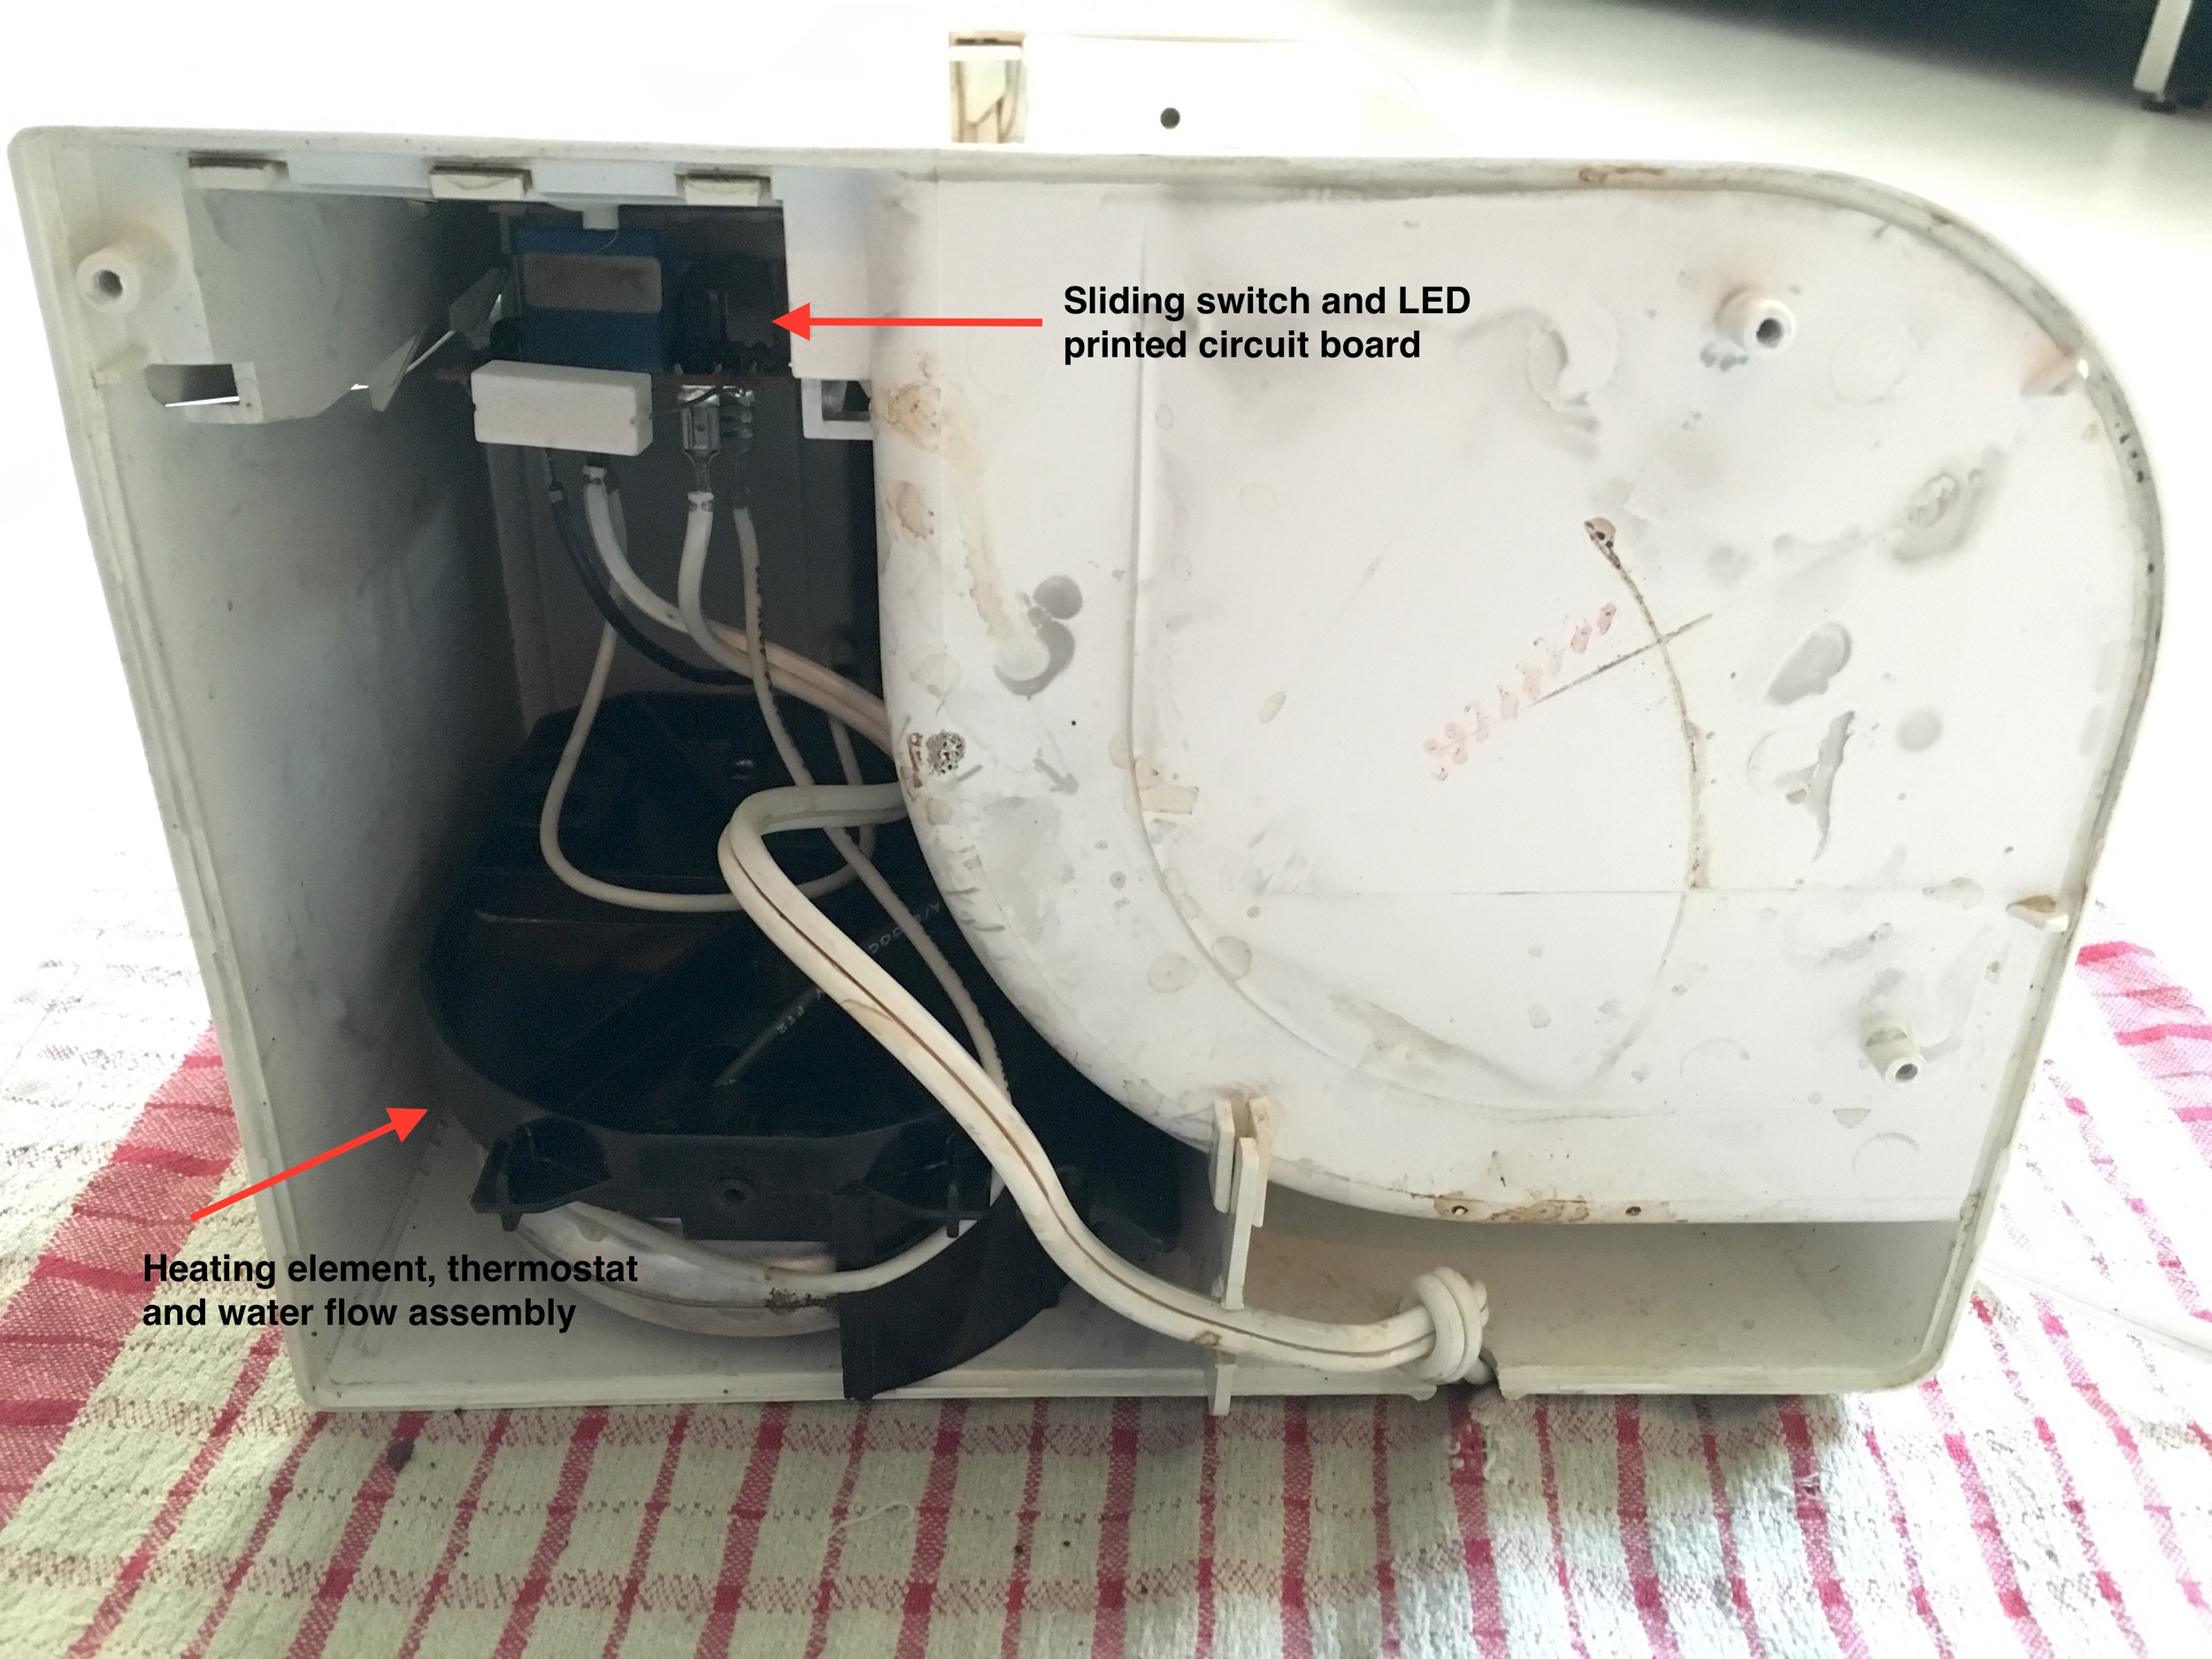
I took apart the TCM-411 to see if a visual inspection of its inner workings would lead to a diagnosis of why my favorite coffee maker wasn't working.
I learned a lot from the disassembly. However, while I'm presenting the information in a nice bulleted list, like it was obvious to me, it took me some time to figure out what all the parts were and what role they played.
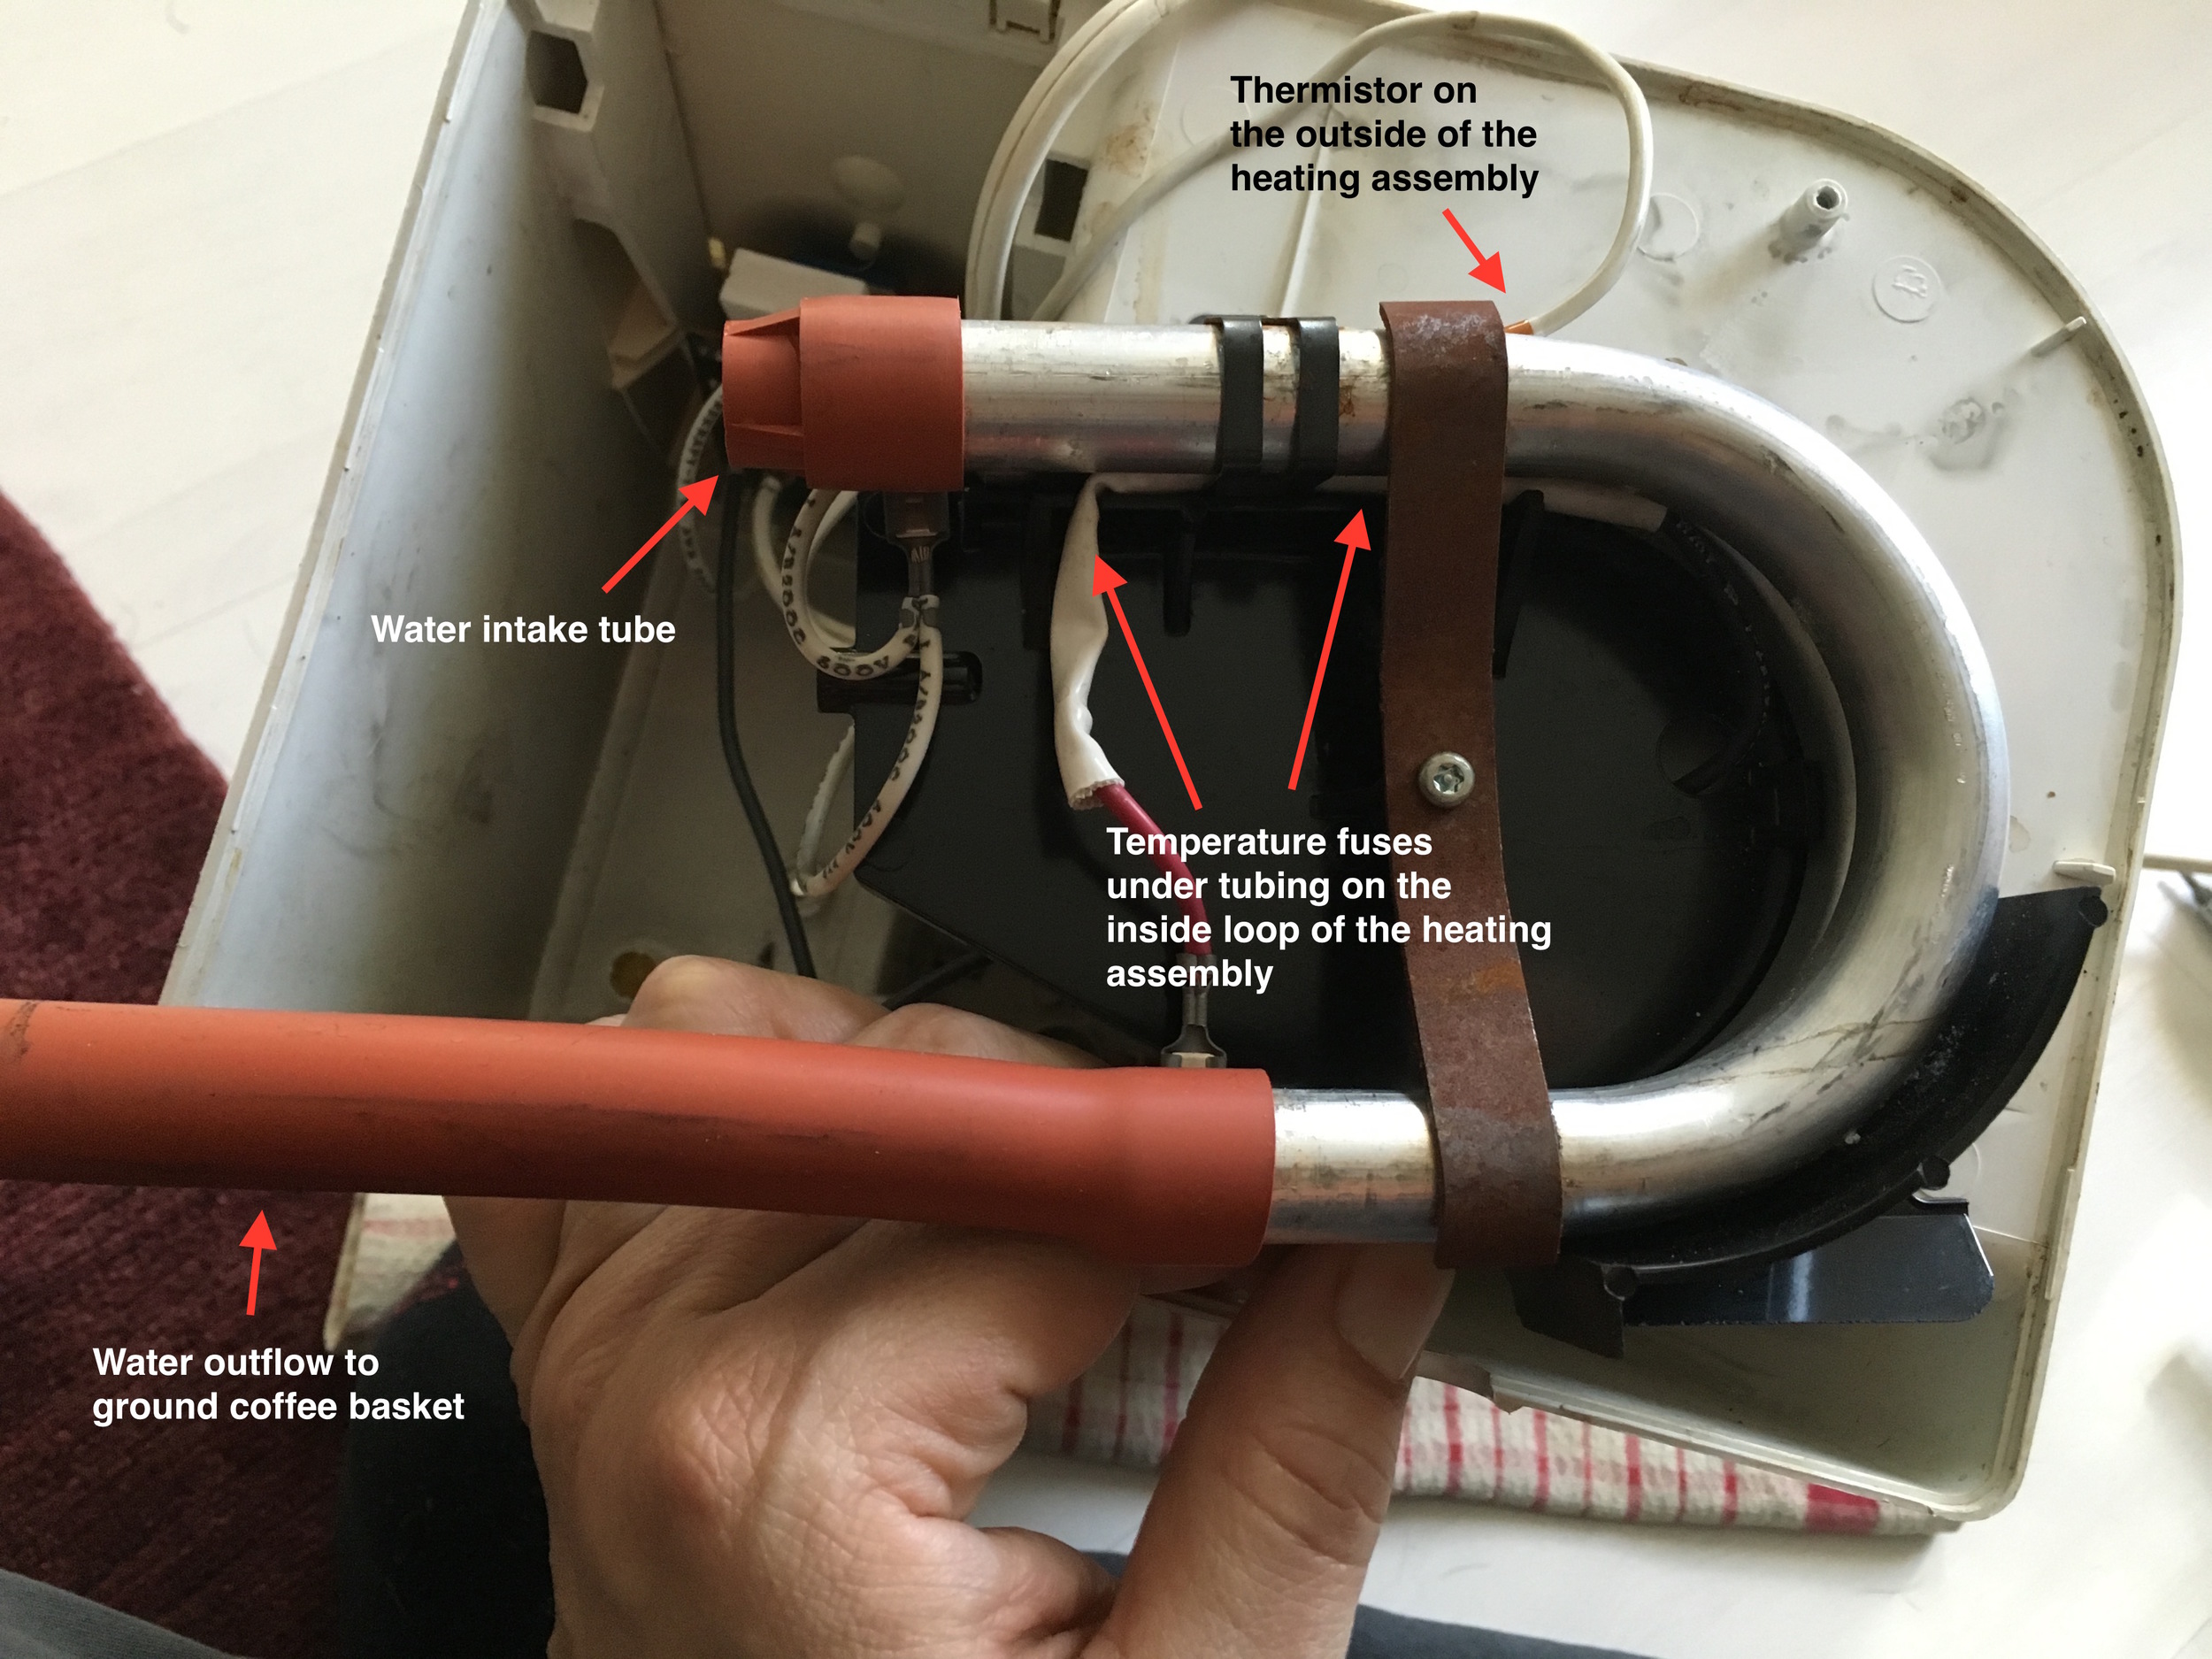
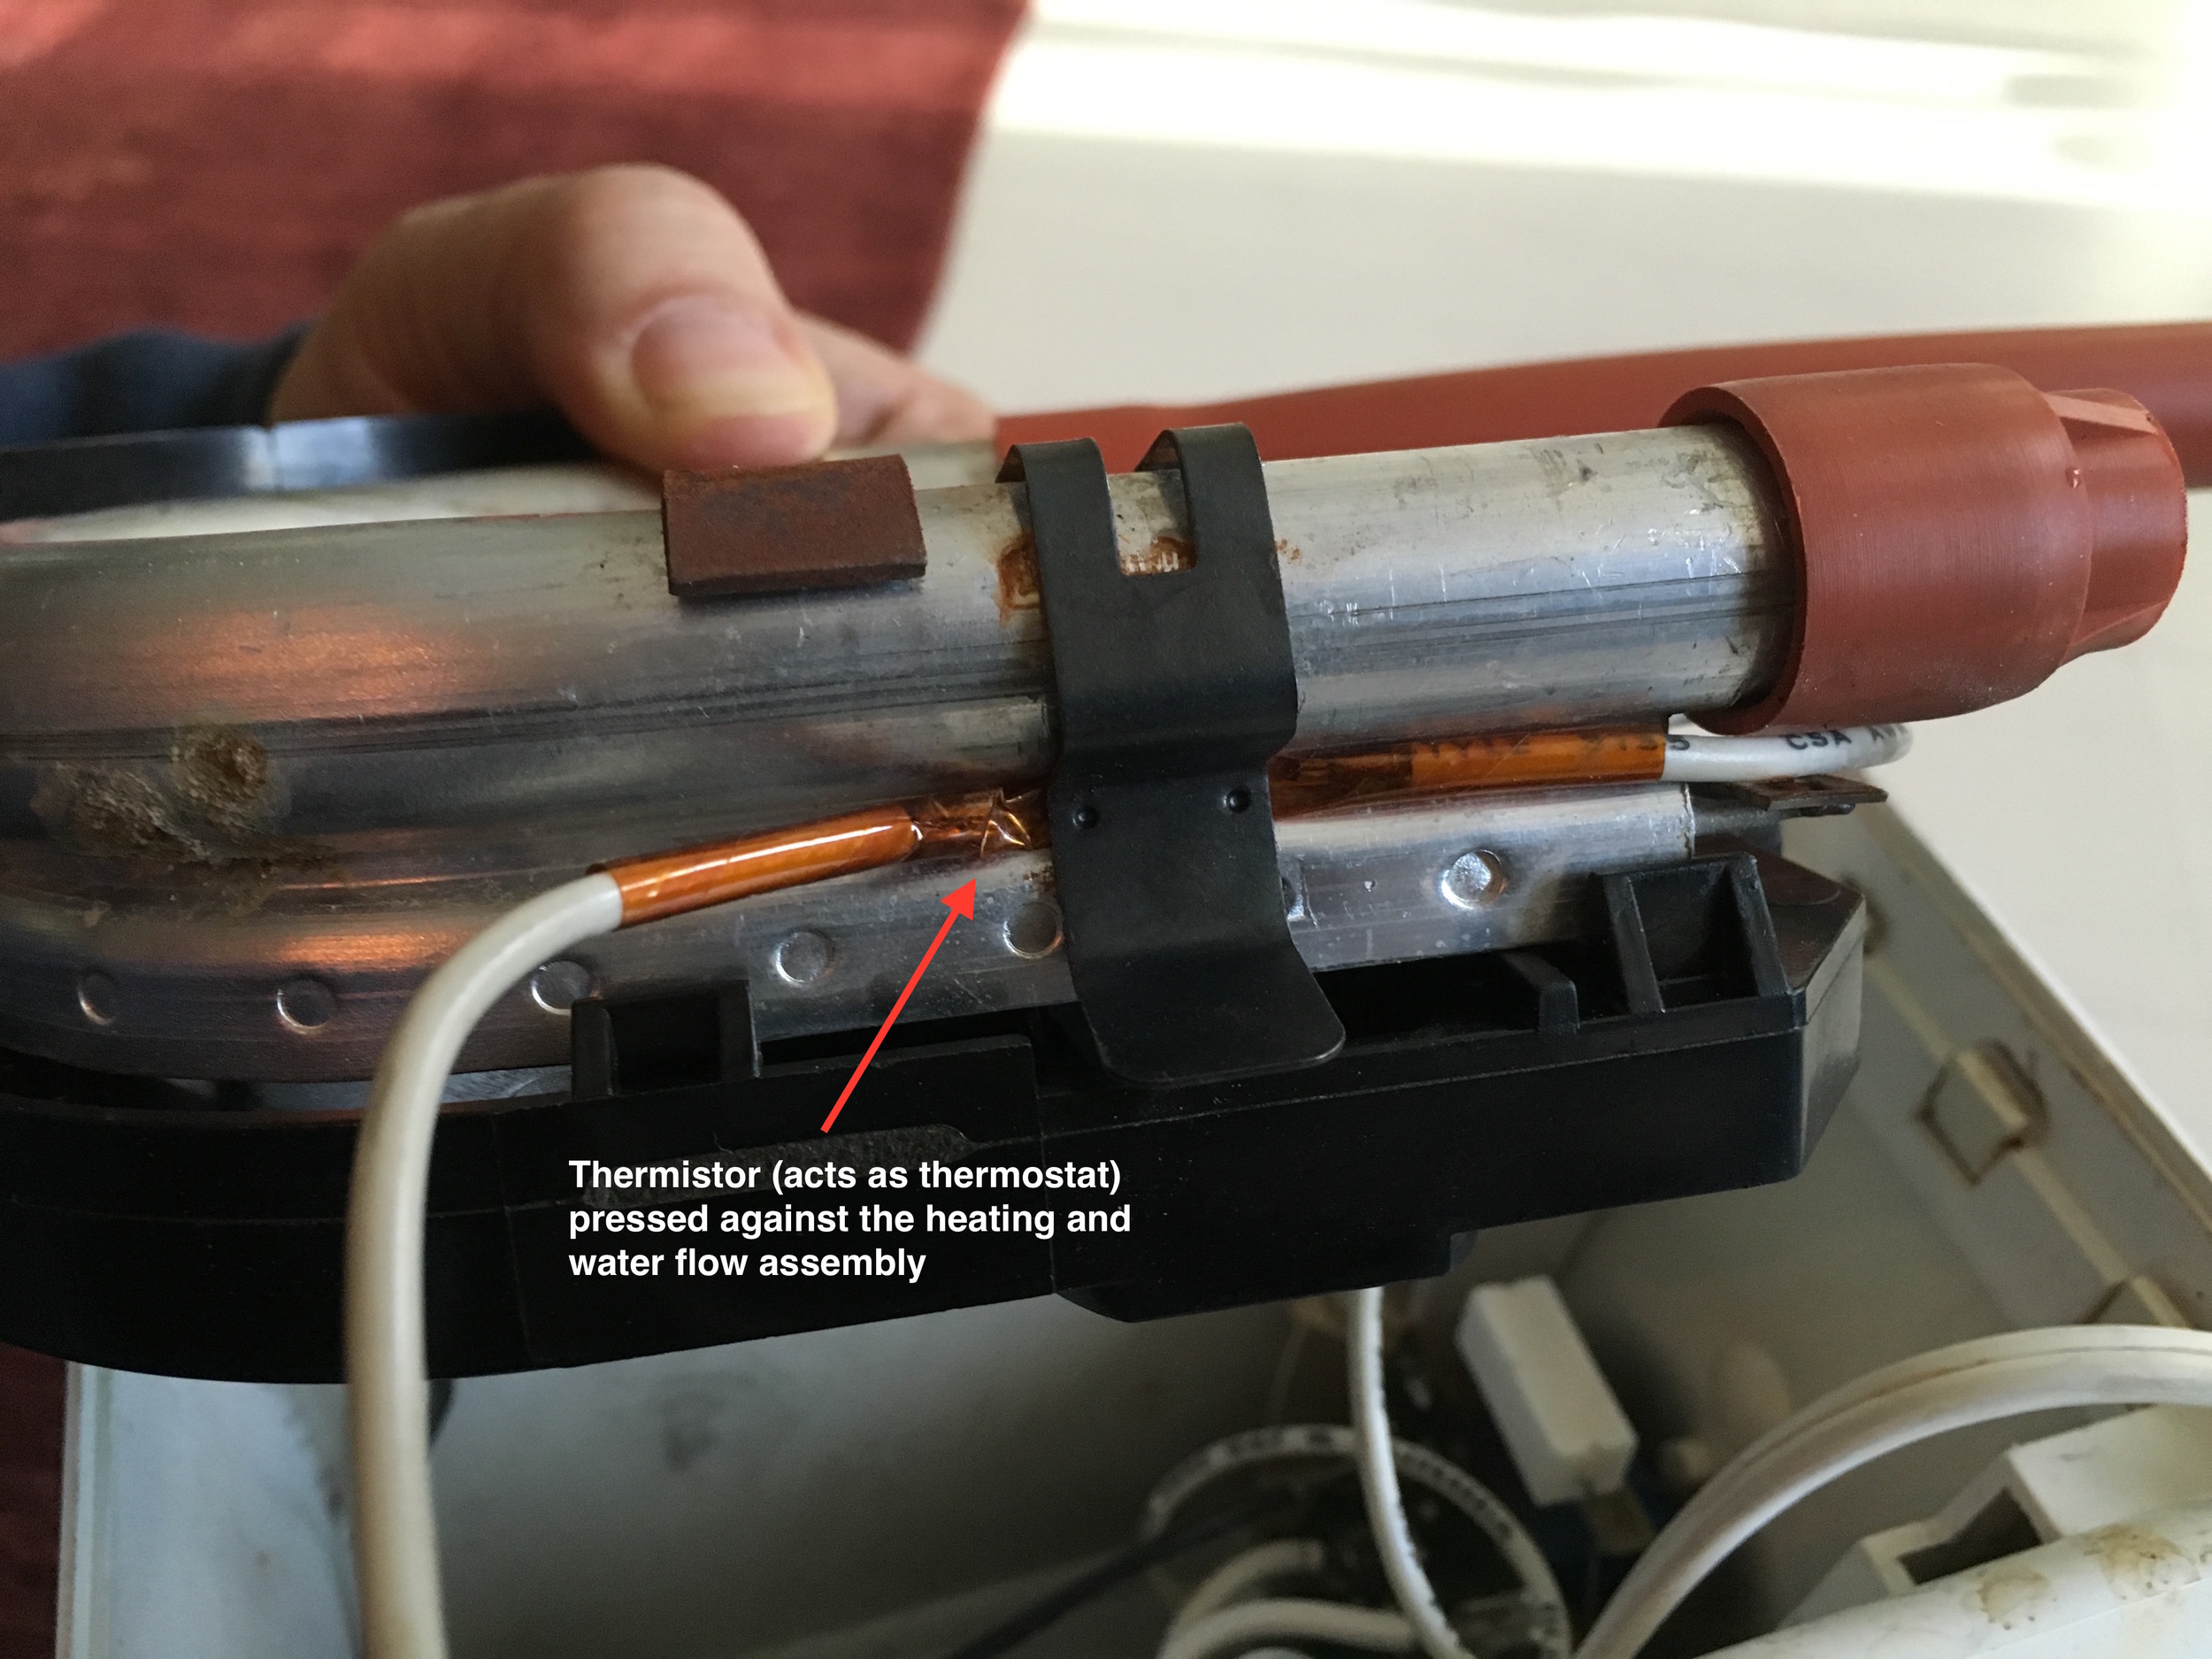
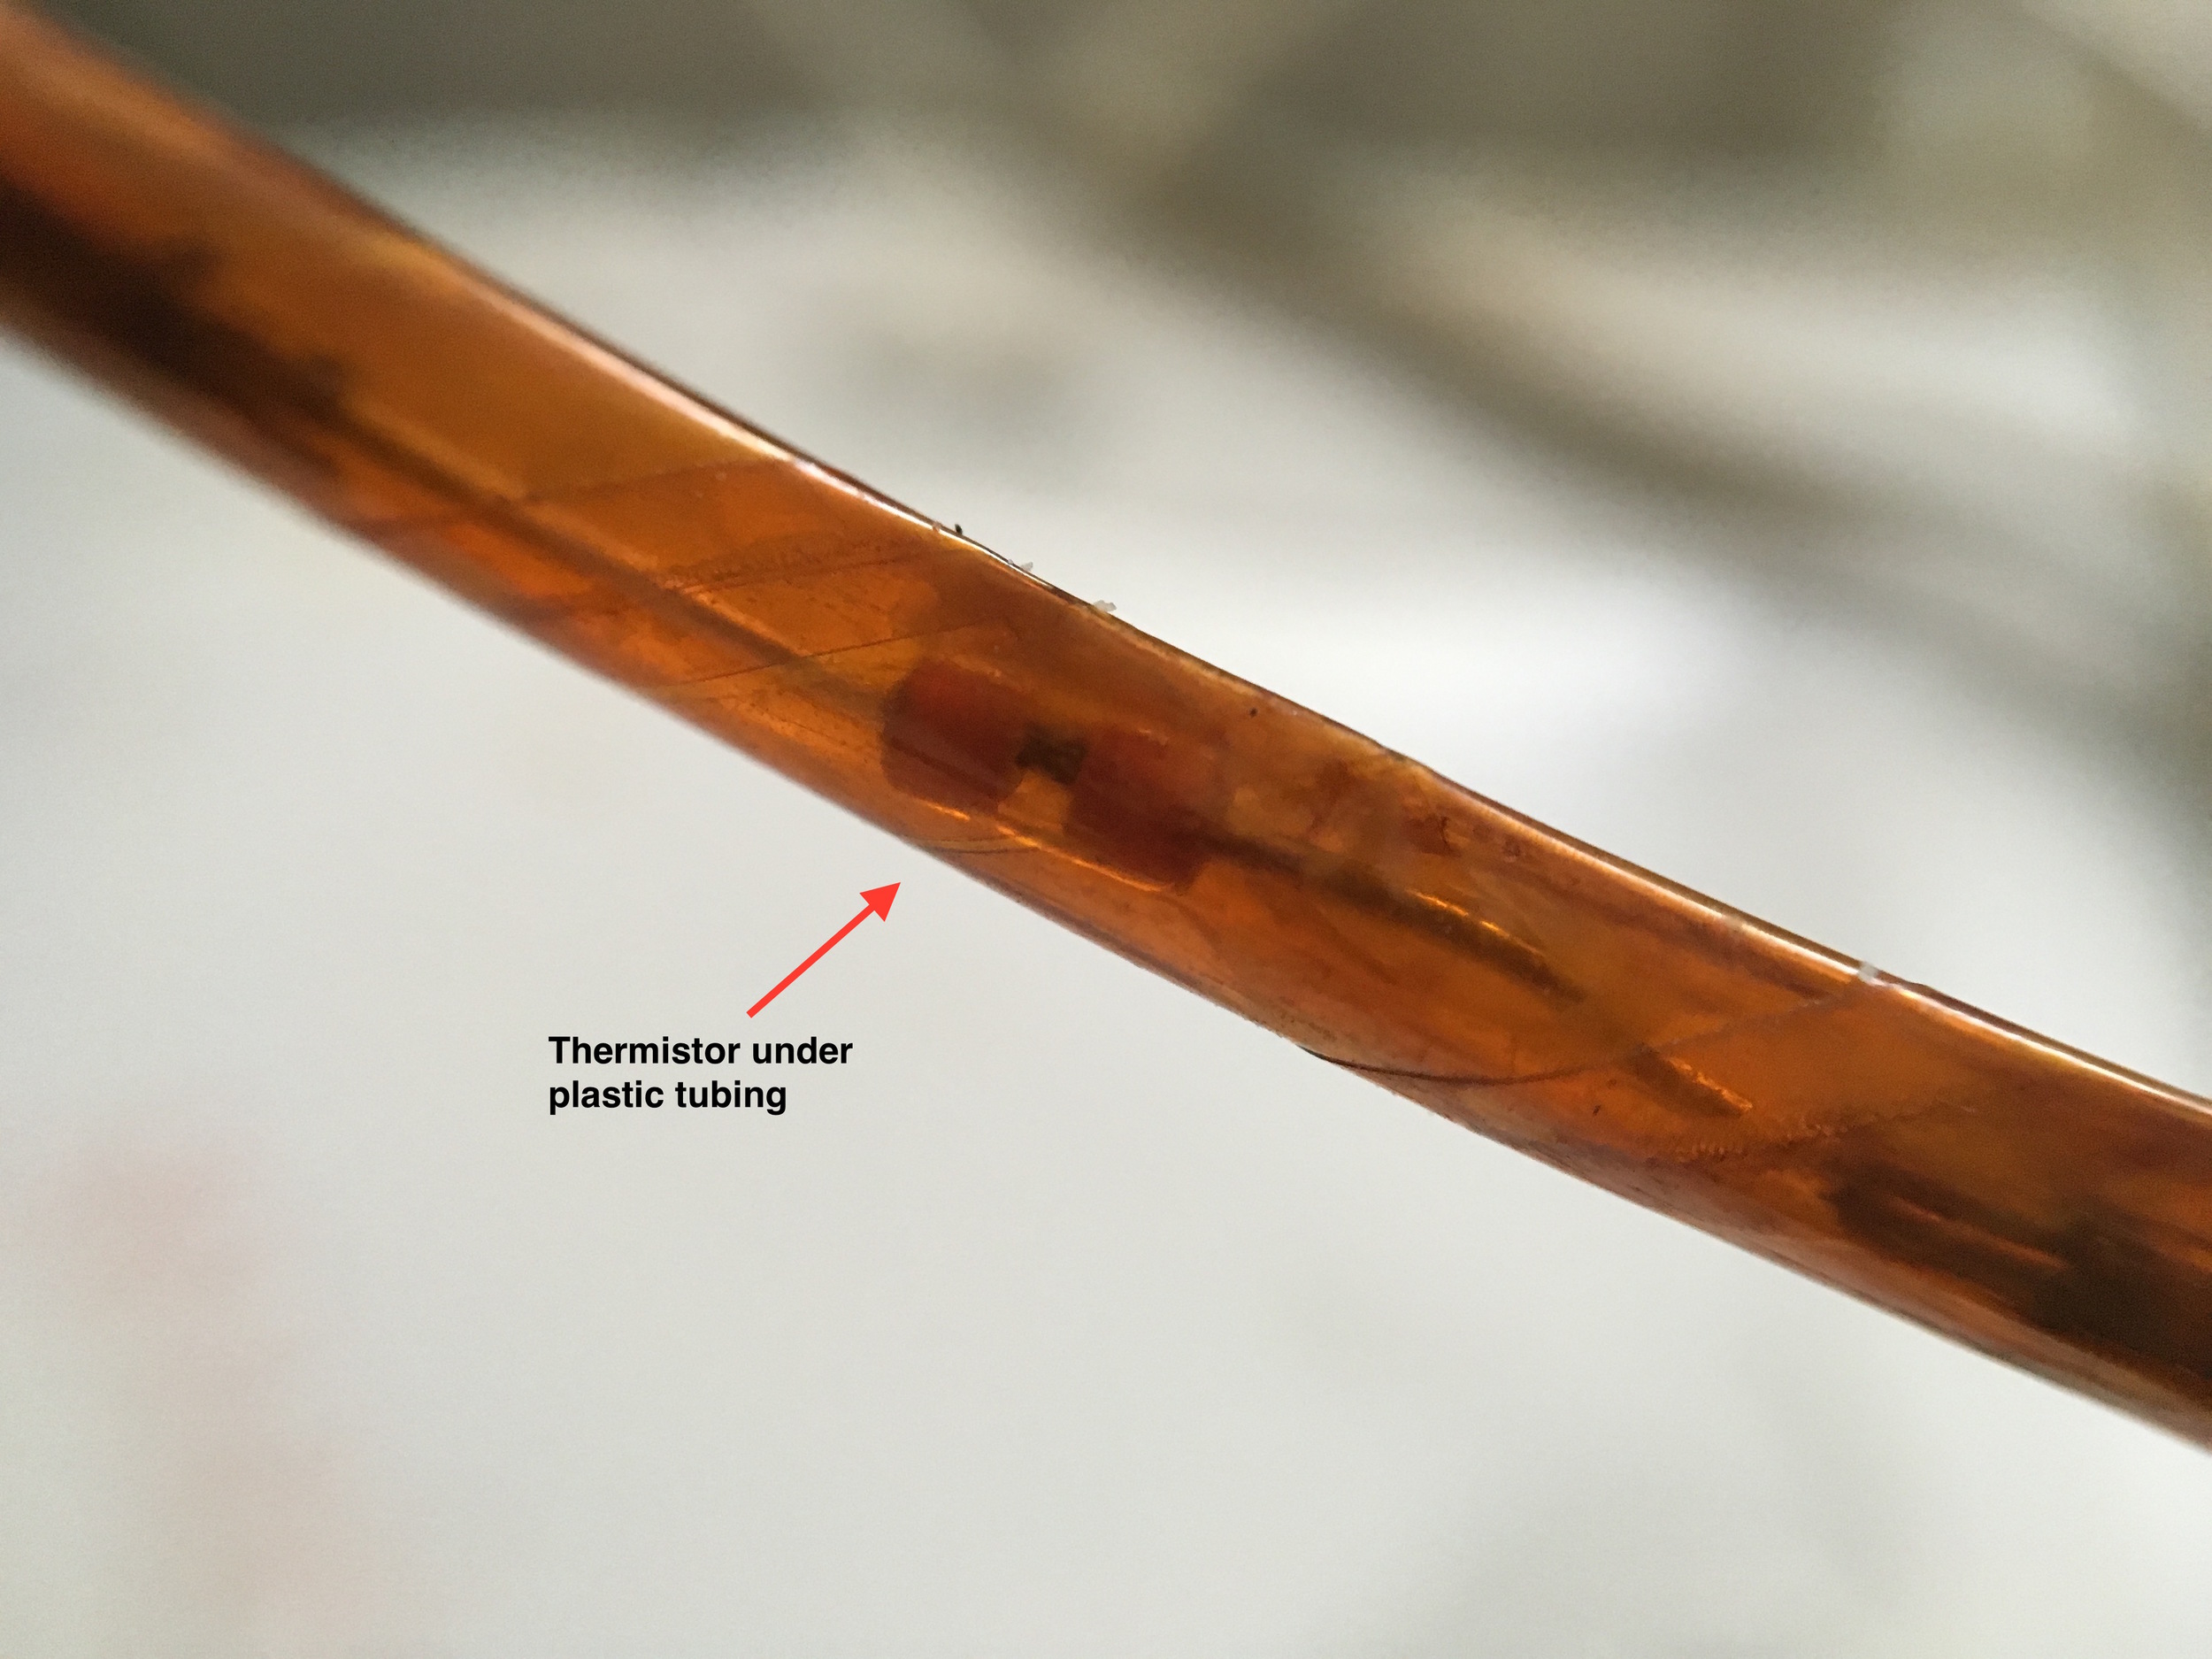
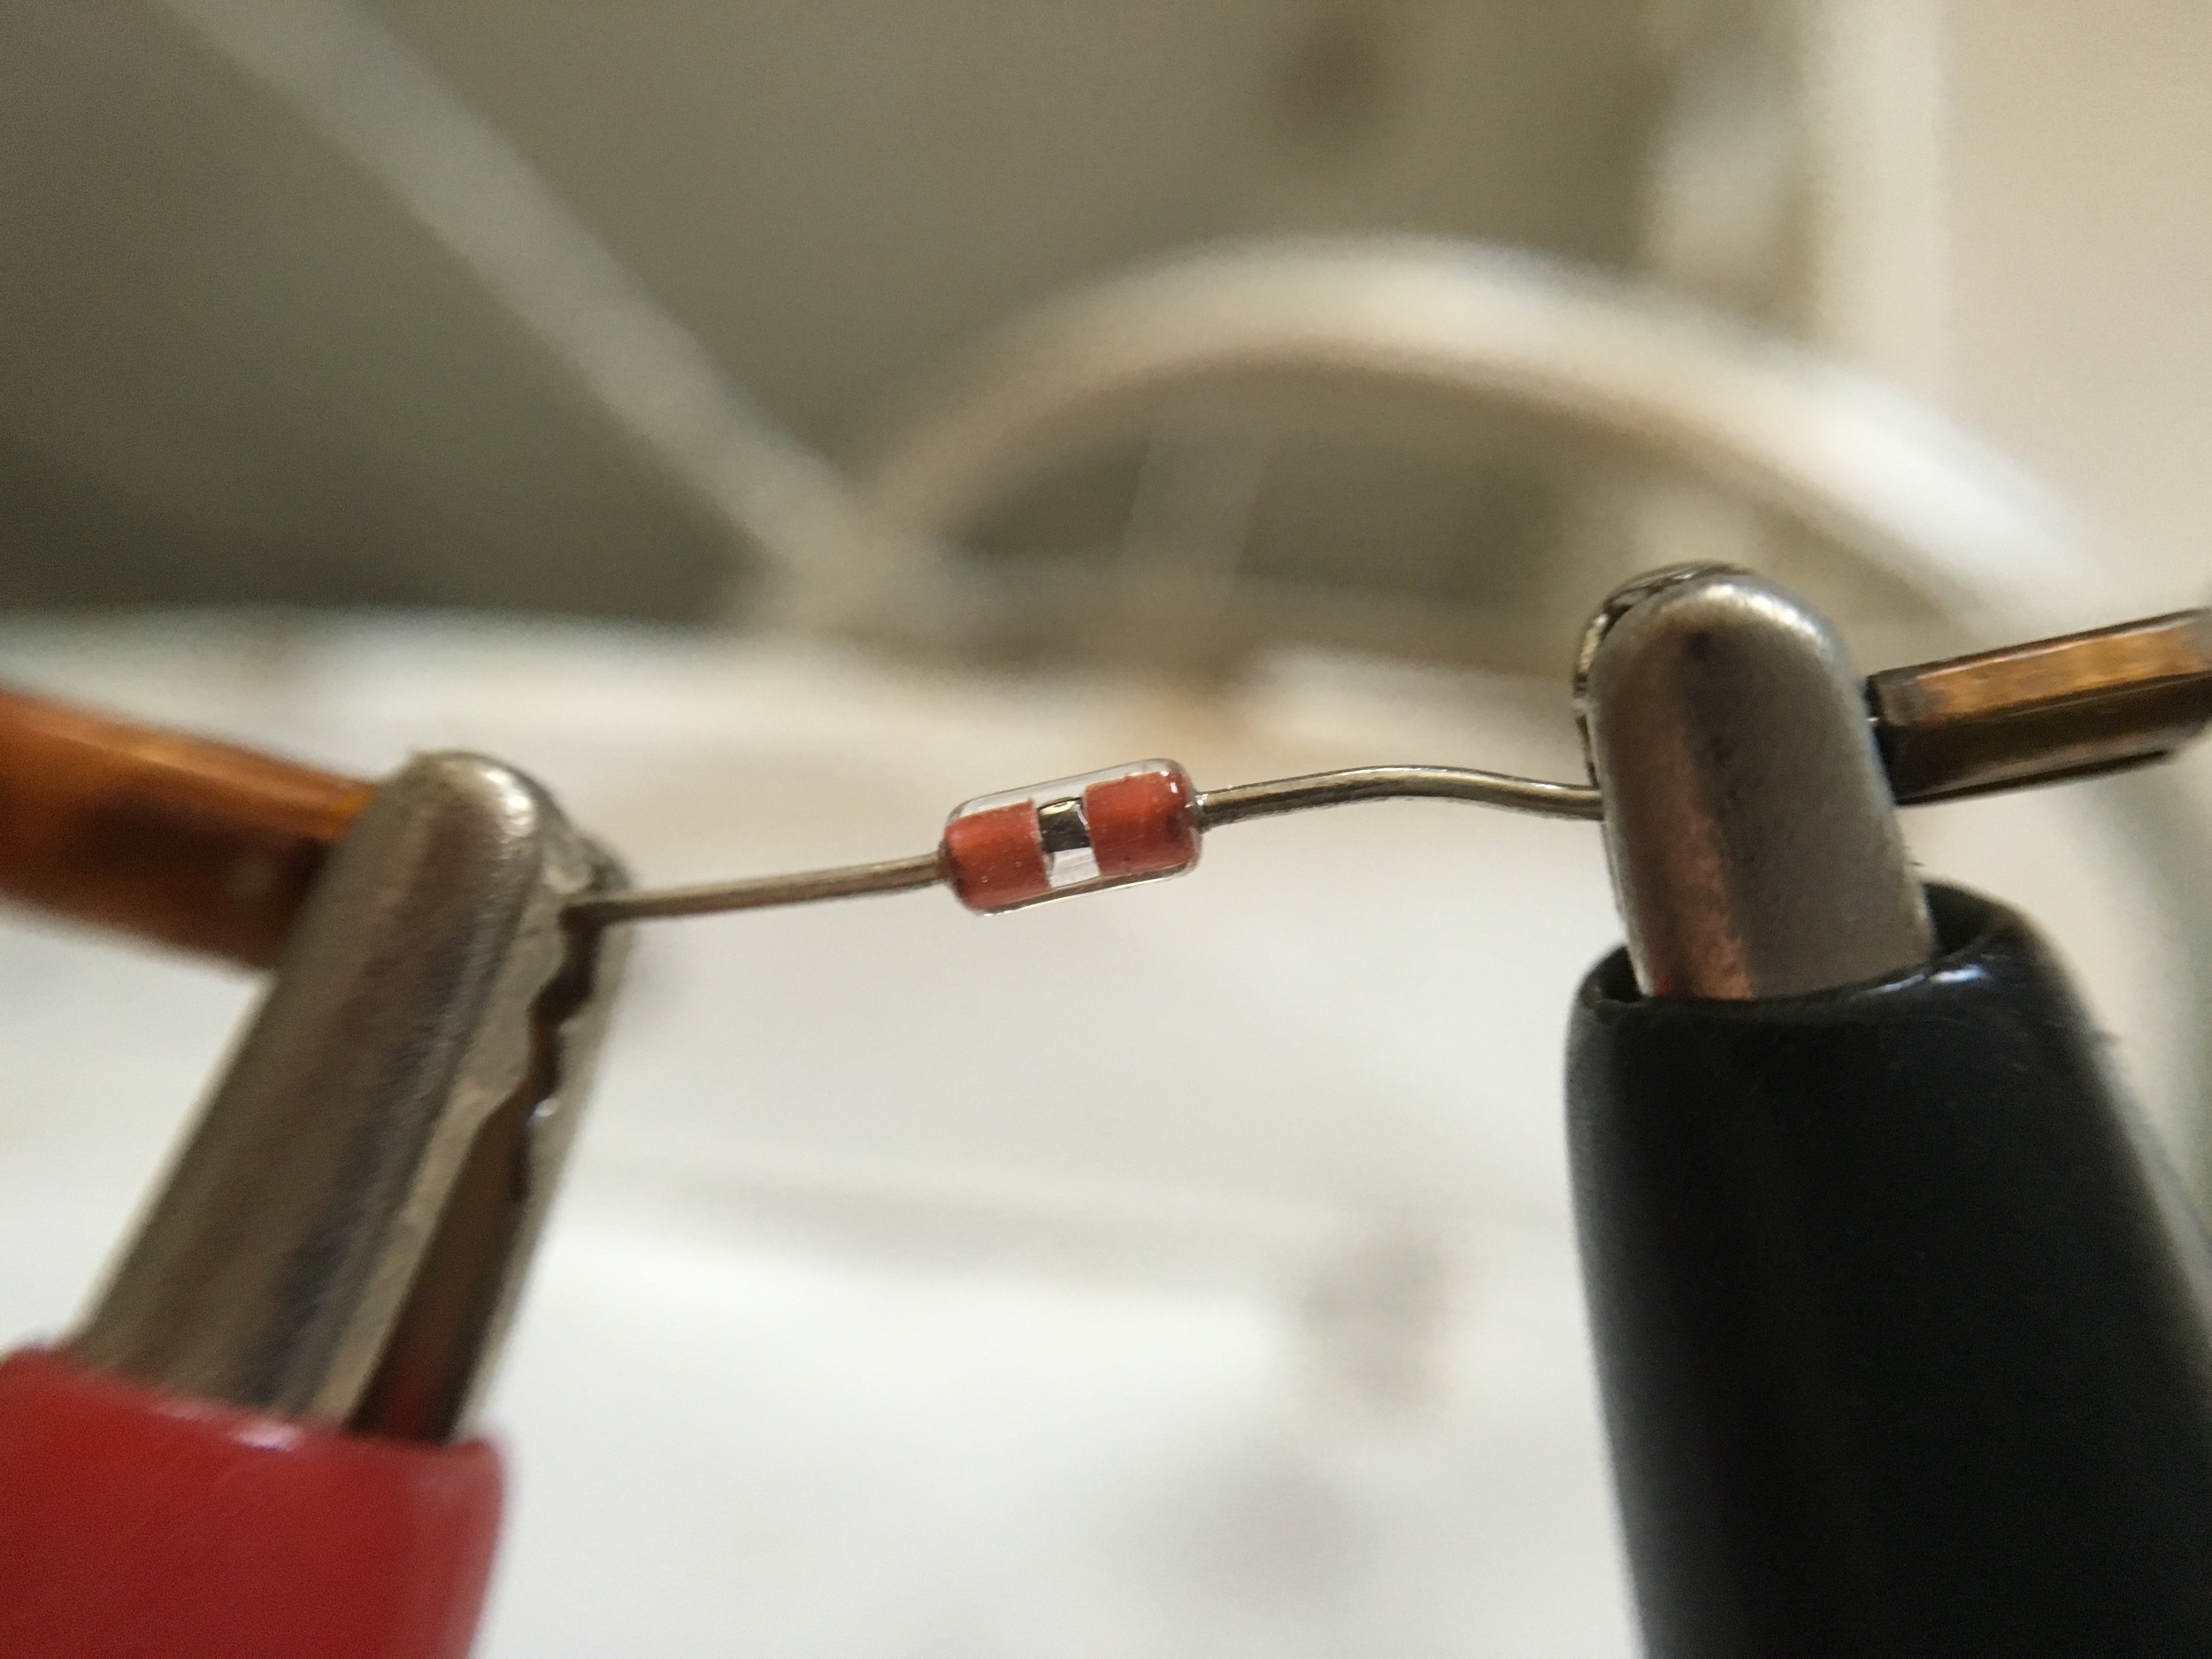
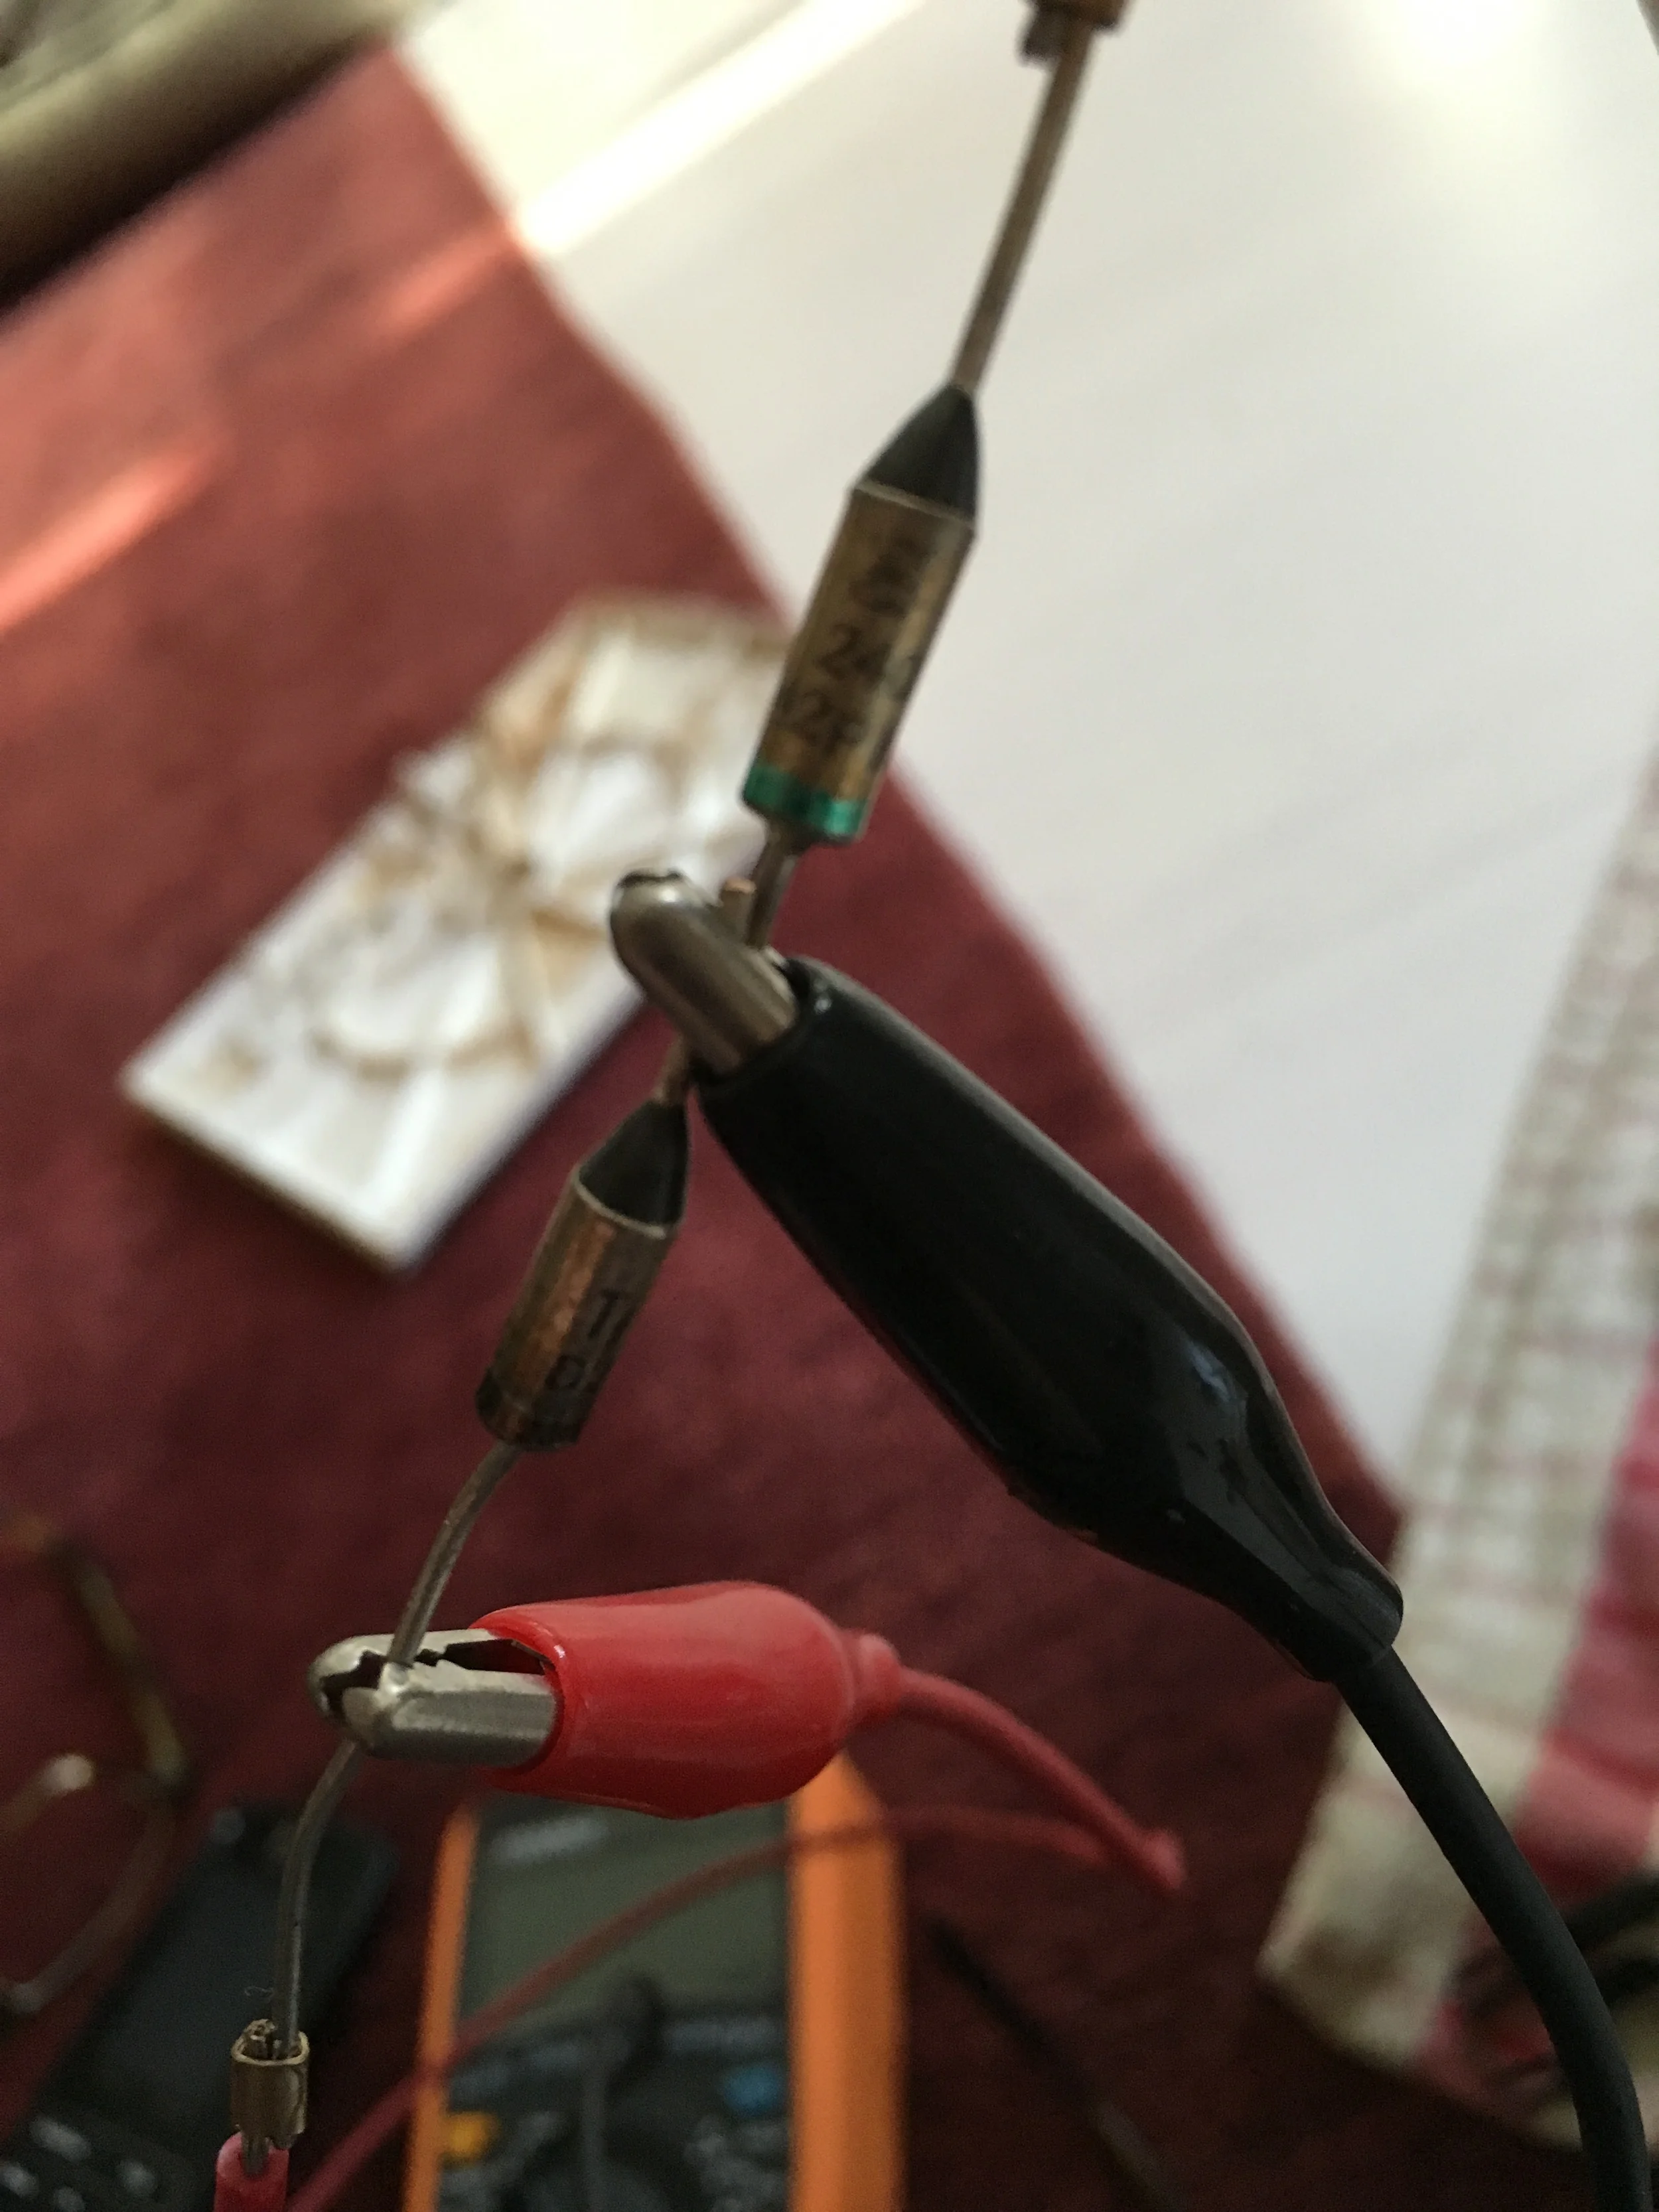
For example, while I had read about thermistors, I had never actually seen one in use. The one in the coffee maker looked like a glass diode to me. Also, when I first came upon the two temperature fuses (you'll see them in the picture gallery) I also thought they were diodes and was puzzled as to why there two in series. To figure out what the parts were, I took educated guesses (that looks like a diode, that looks like a resistor, etc) and Googled part numbers and images with which to compare.
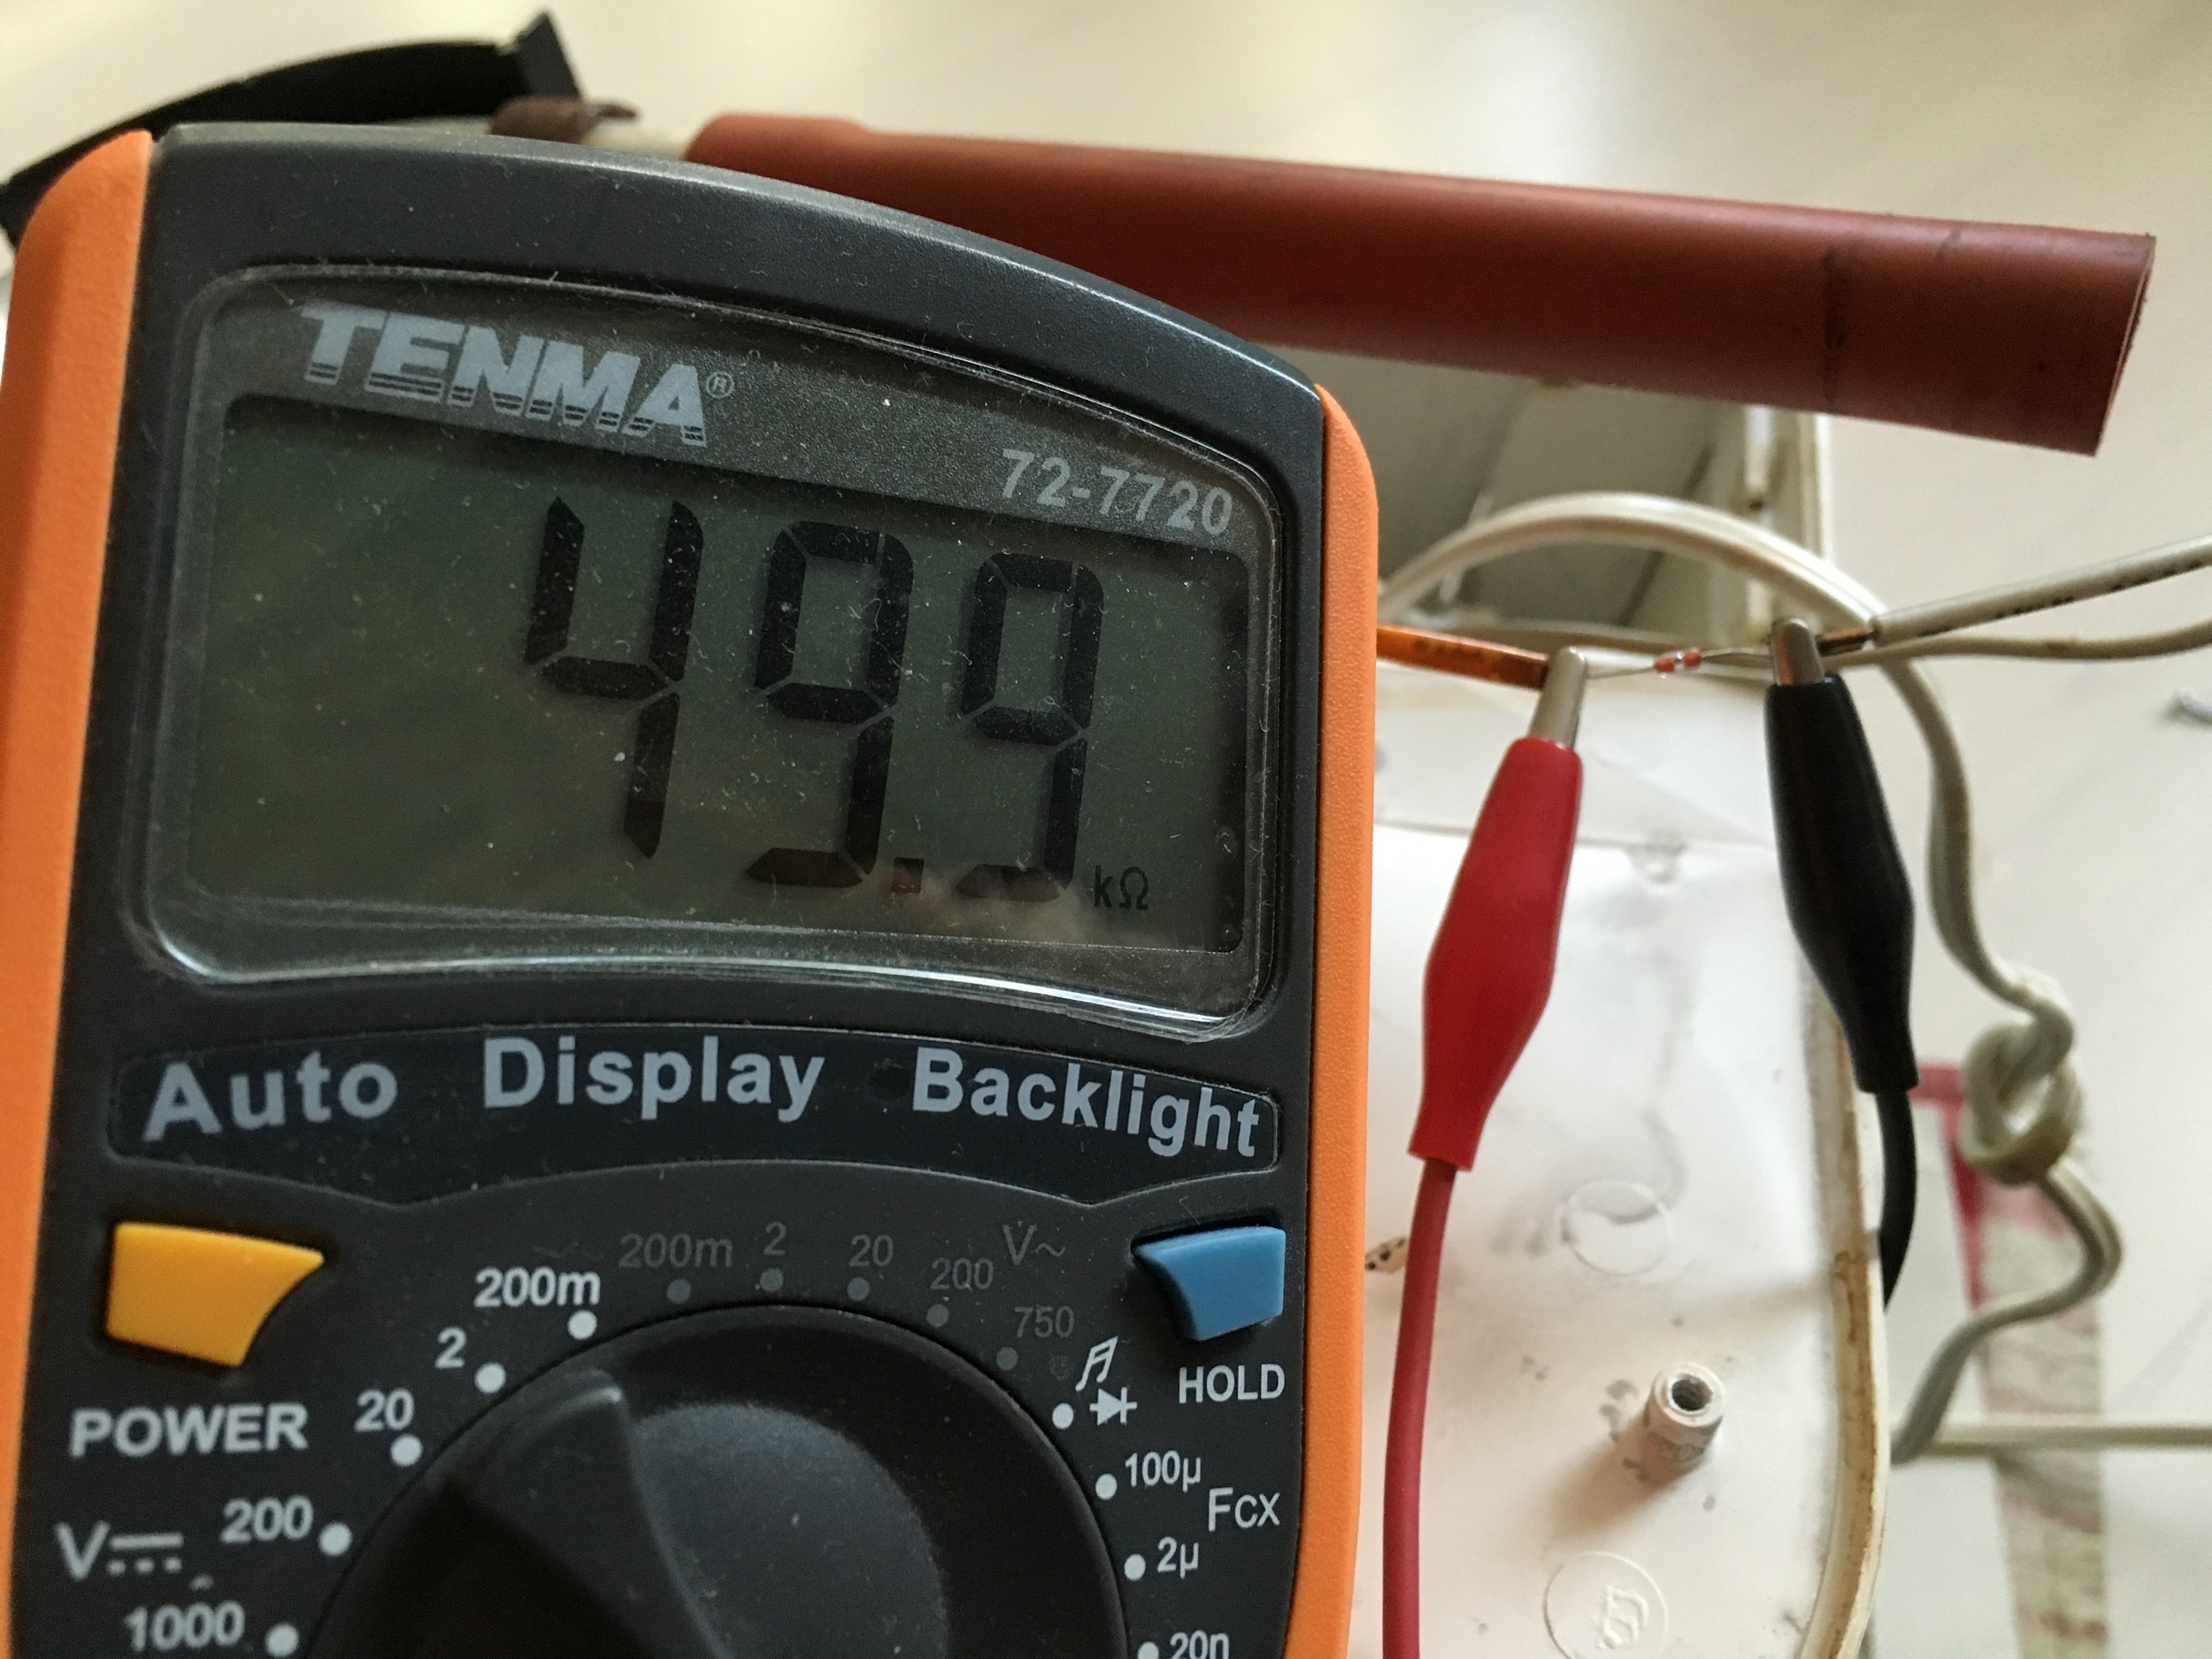
- Rather than a thermostat, the TCM-411 uses a thermistor to cut power to the heating element. A thermistor is a resistor that reacts to temperature. A PTC (positive temperature coefficient) thermistor increases in resistance as it gets warmer. An NTC (negative temperature coefficient) thermistor -- which is the kind my coffee maker has -- goes down in resistance as its temperature increases. I tested the thermistor and confirmed it was working correctly.
- Coffee makers have thermal fuses or cutoff to prevent fires. If the temperature goes beyond a certain point (in this case 240 degrees Fahrenheit) the fuse will blow and instantly cut current to the heating element. The reason there are two fuses, when one would suffice, is that the fuses can go bad and it's much cheaper to add a second fuse than defend lawsuits. The only test you can make on a thermal fuse, as far as I know, is to make sure that it doesn't have a short -- that it allows electricity to flow through it.
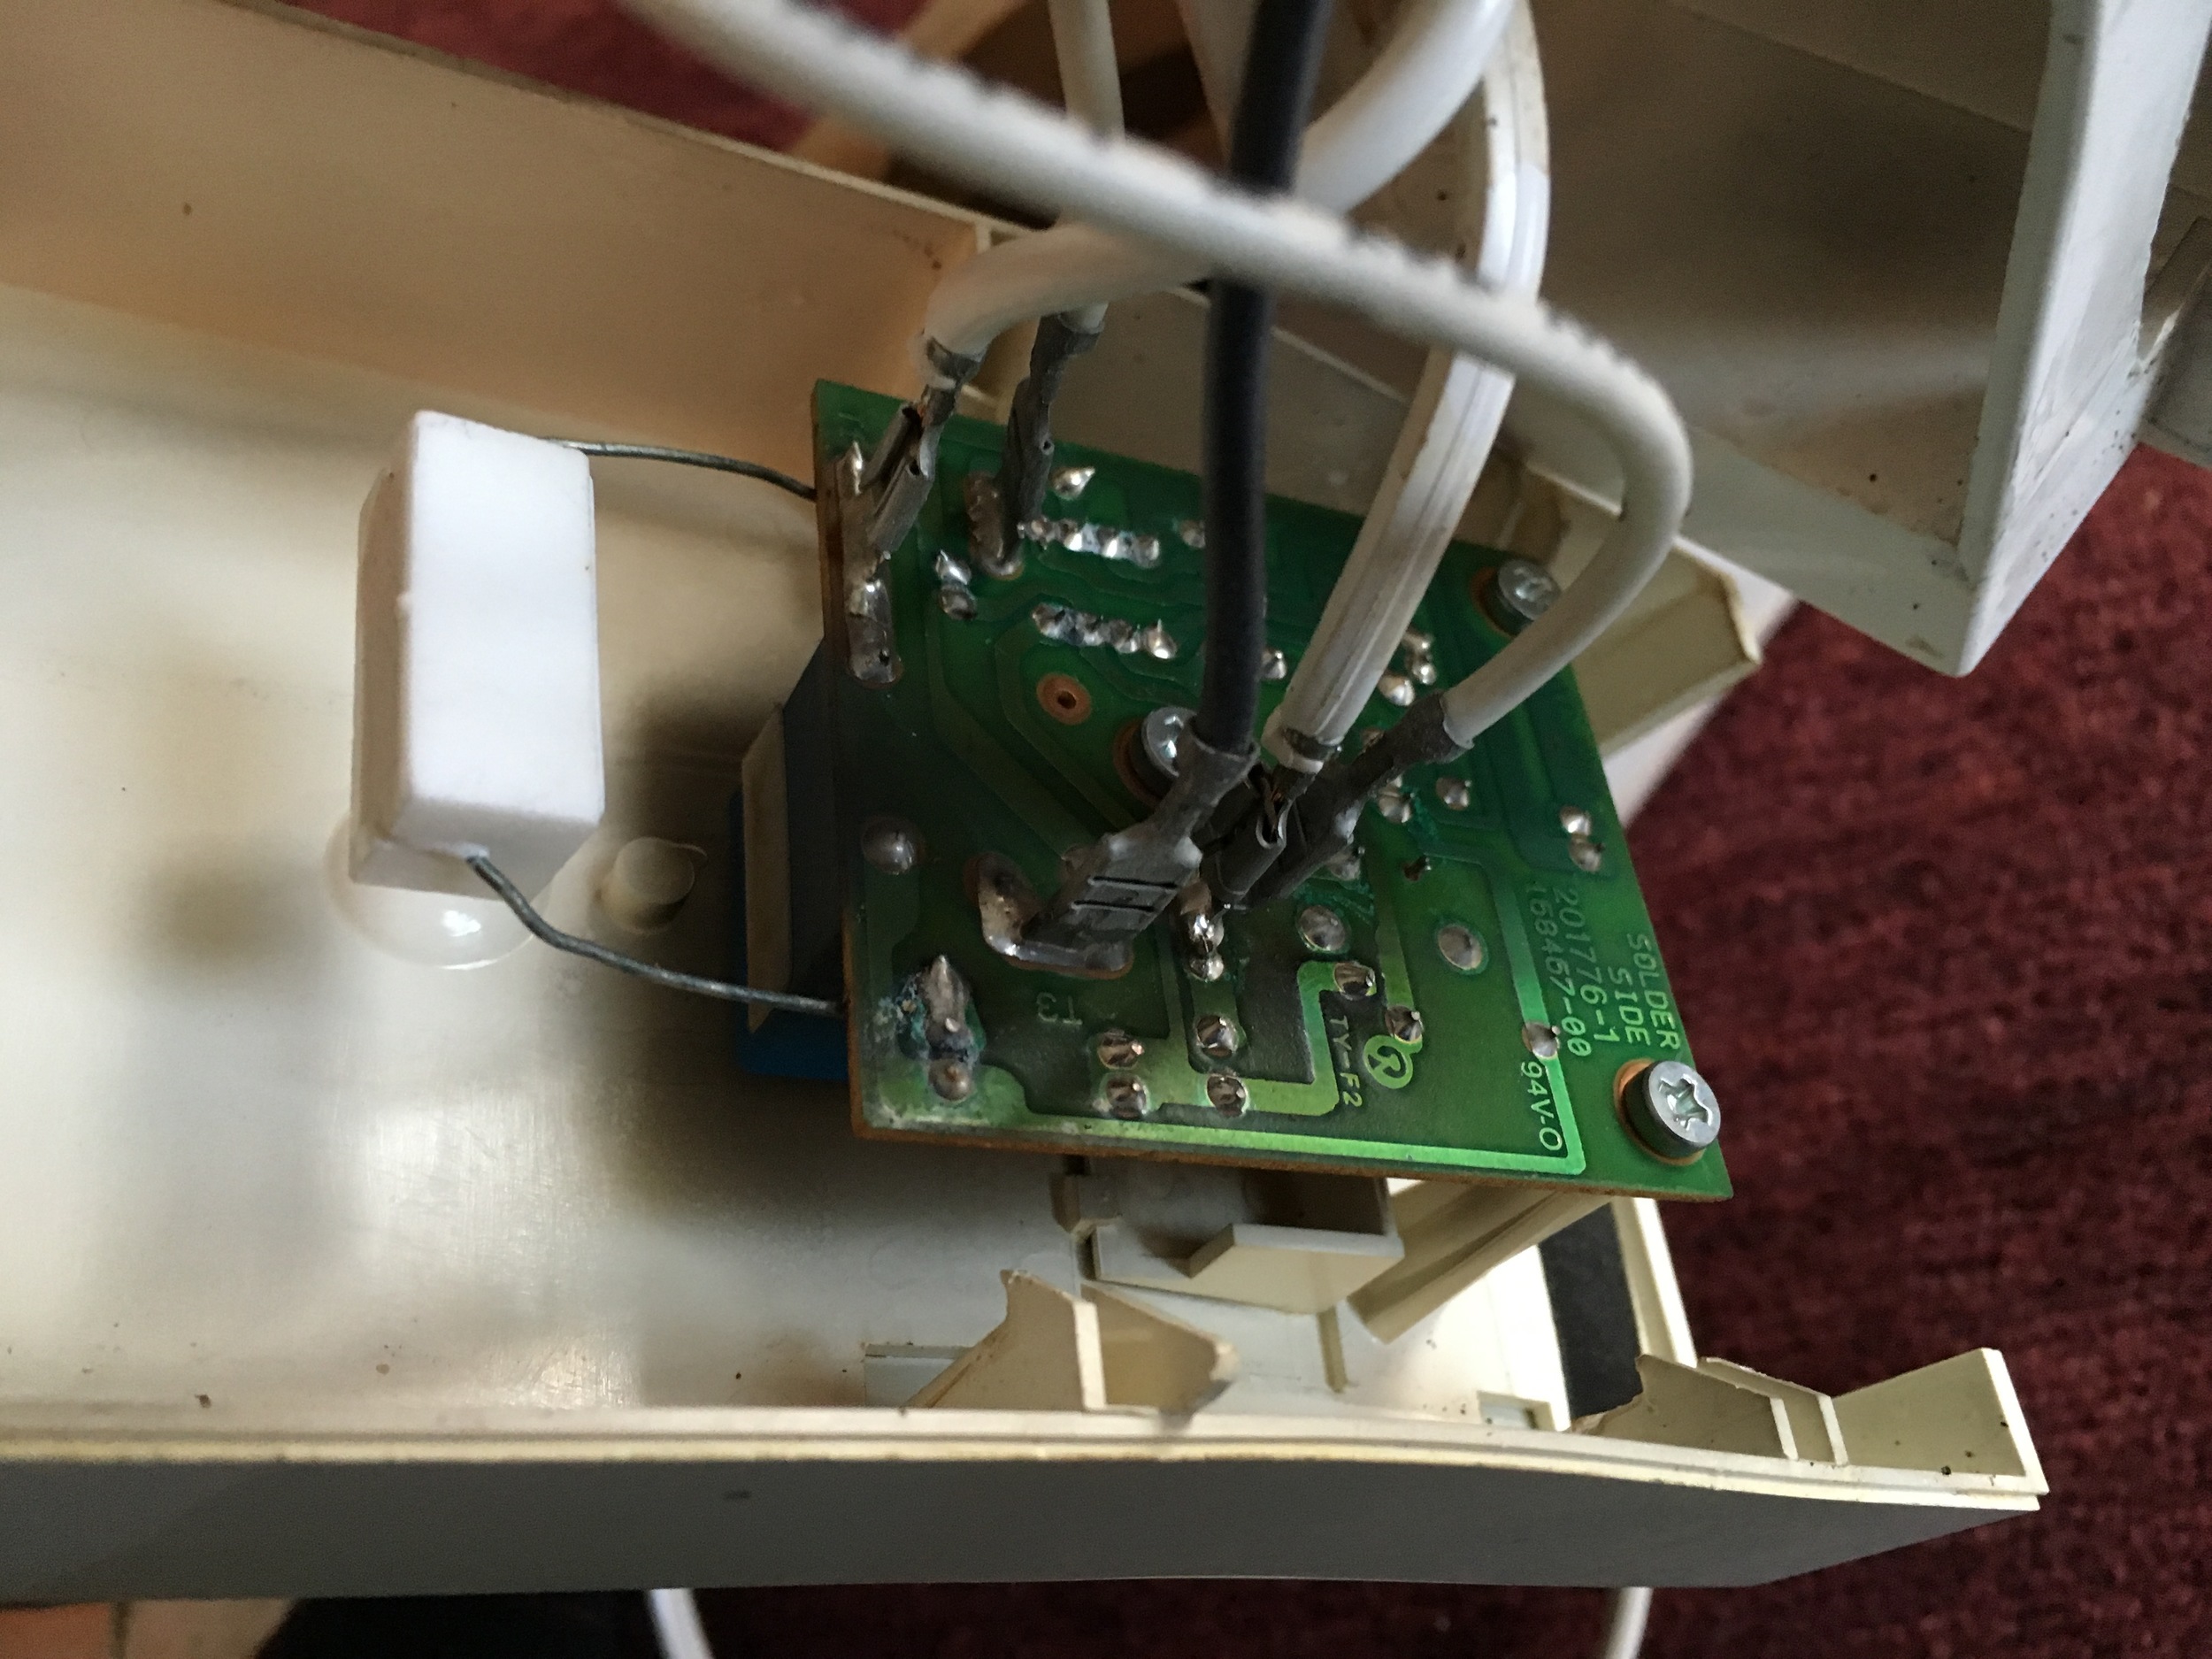
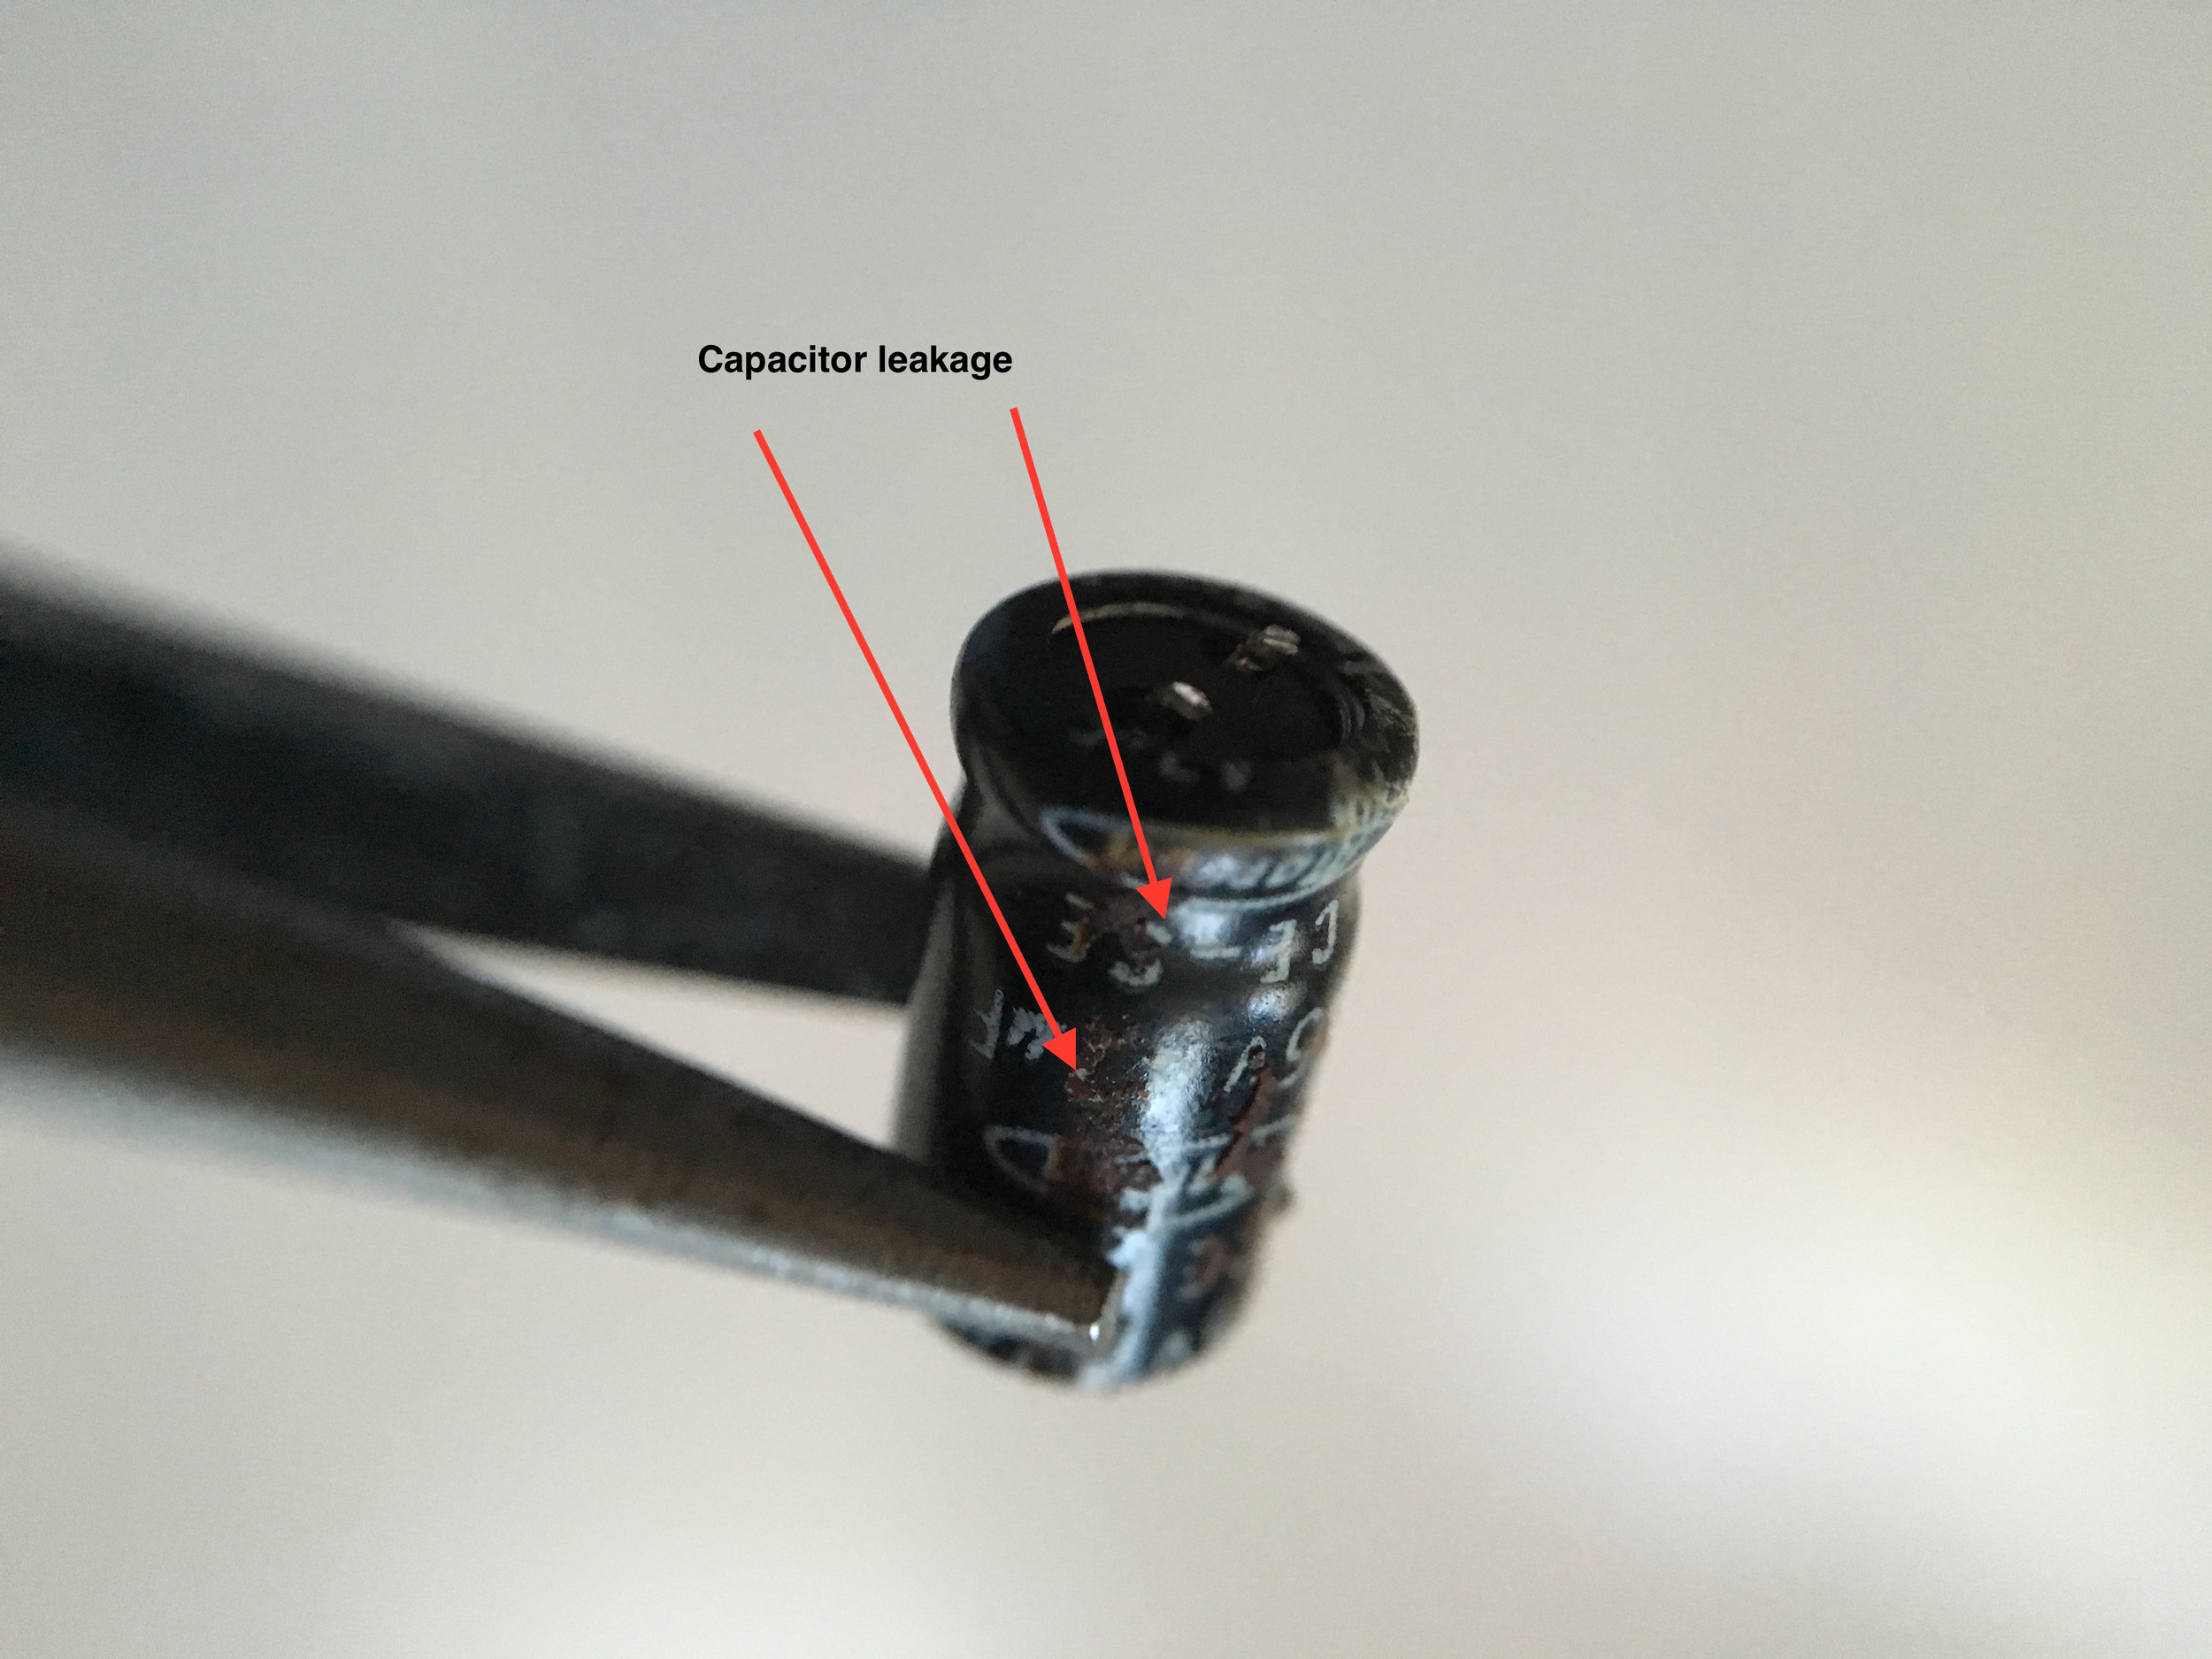
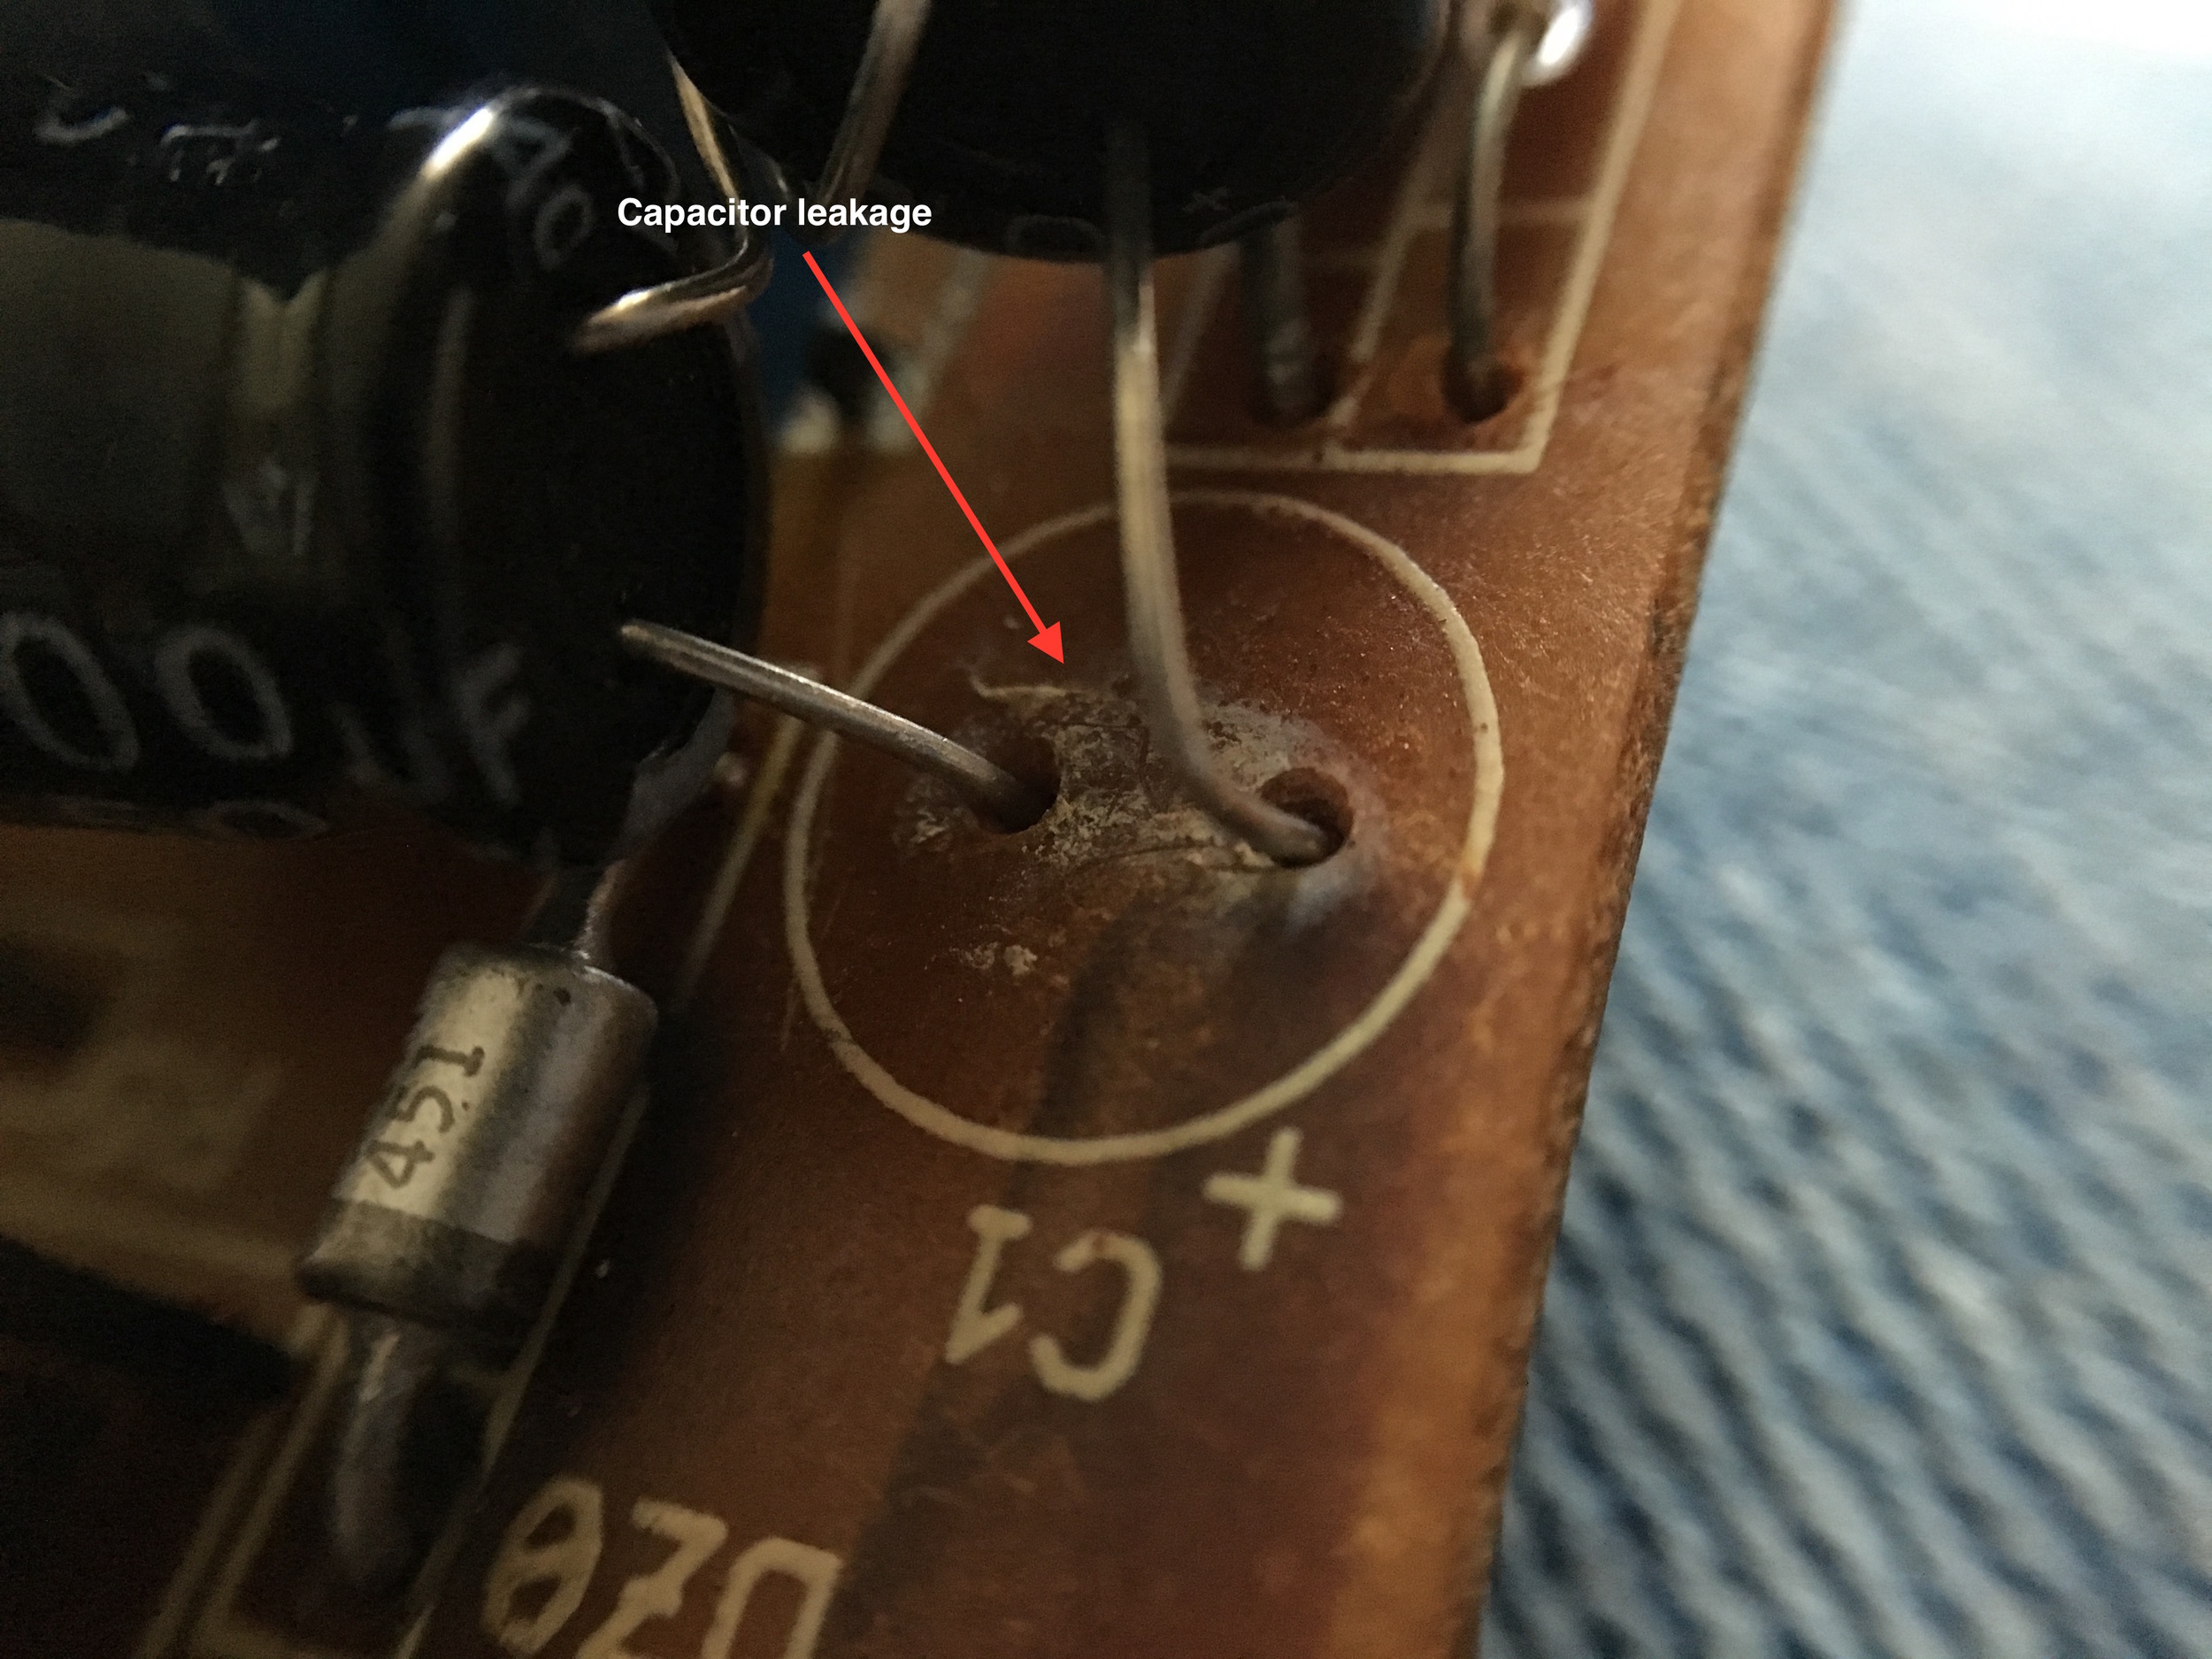
- The printed circuit board that provide the single control for the coffee maker has a momentary sliding switch, a relay, some resistors and a couple of electrolytic capacitors. The capacitors were labeled C0 (20uf) and C1 (44uf). Everything checked out ok with the switch and relay, but the capacitors looked suspicious. There was residue around them. When I mentioned this to my oft-consulted friend Josh, he immediately said: "That's it. Electrolytic capacitors are cheap and always go bad." He explained that electrolytic capacitors are really cheaply made -- they basically contain paper and an electrolyte which over time will leak out of the capacitor.
Repair
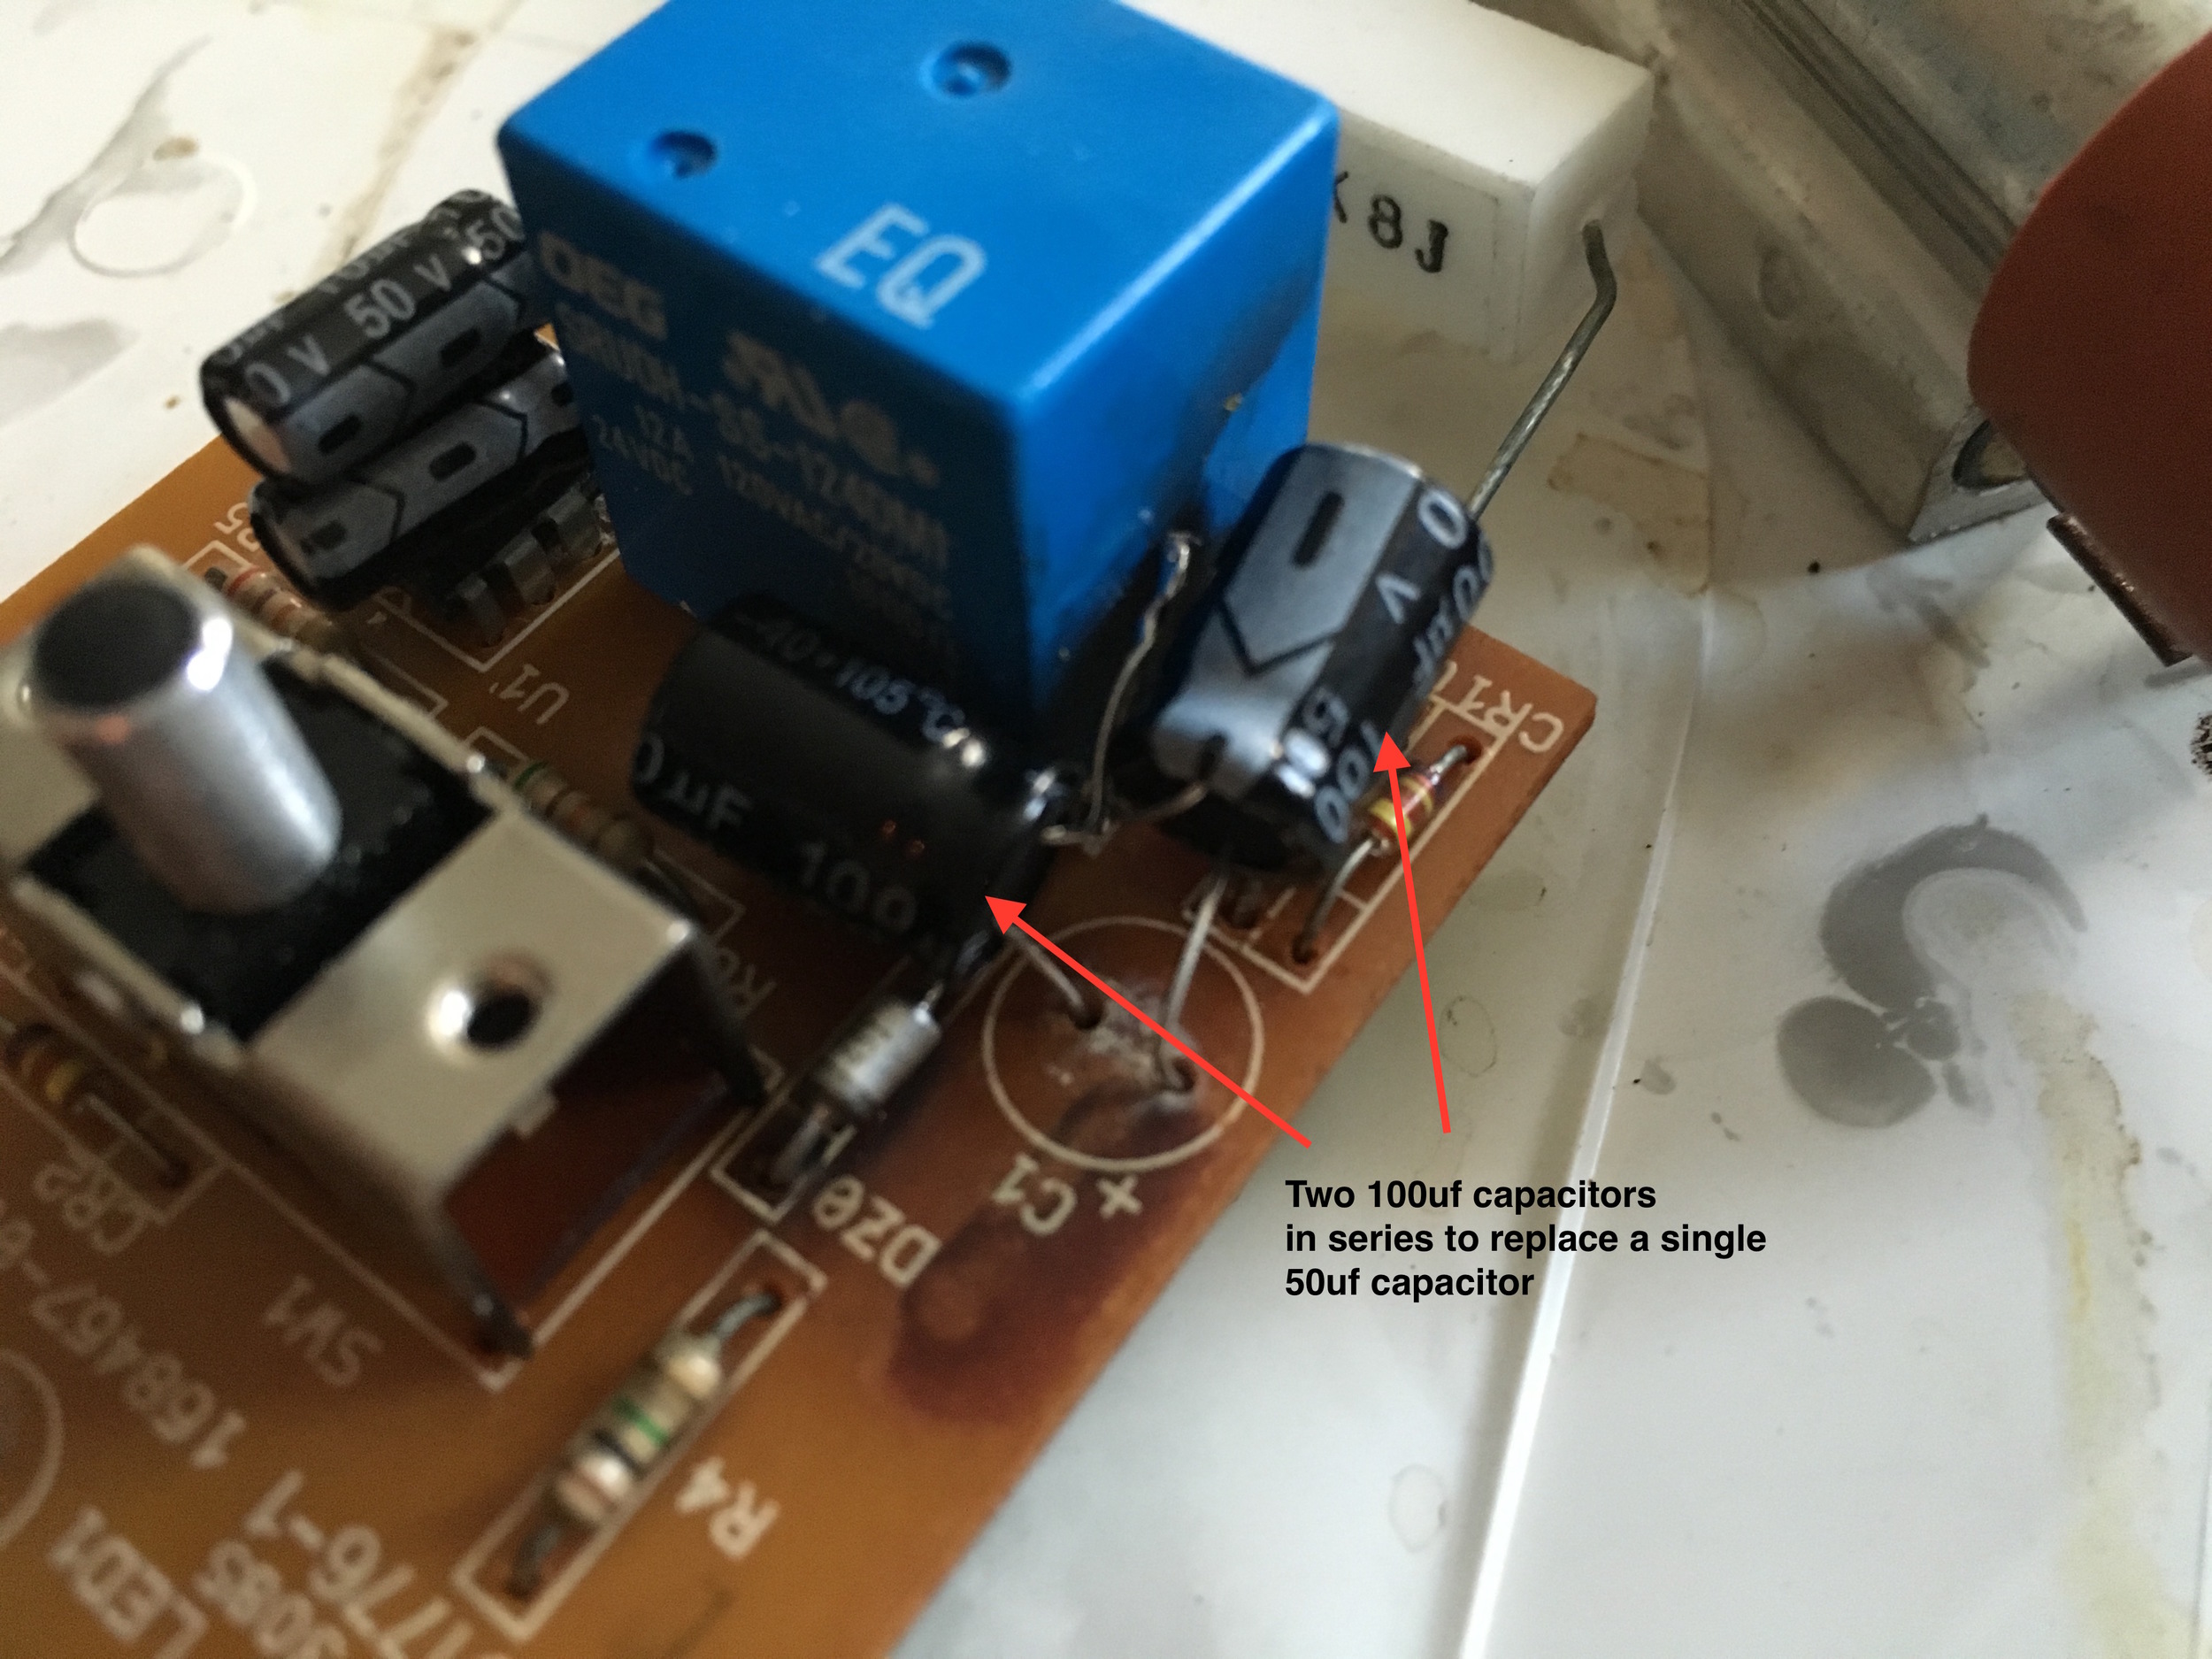
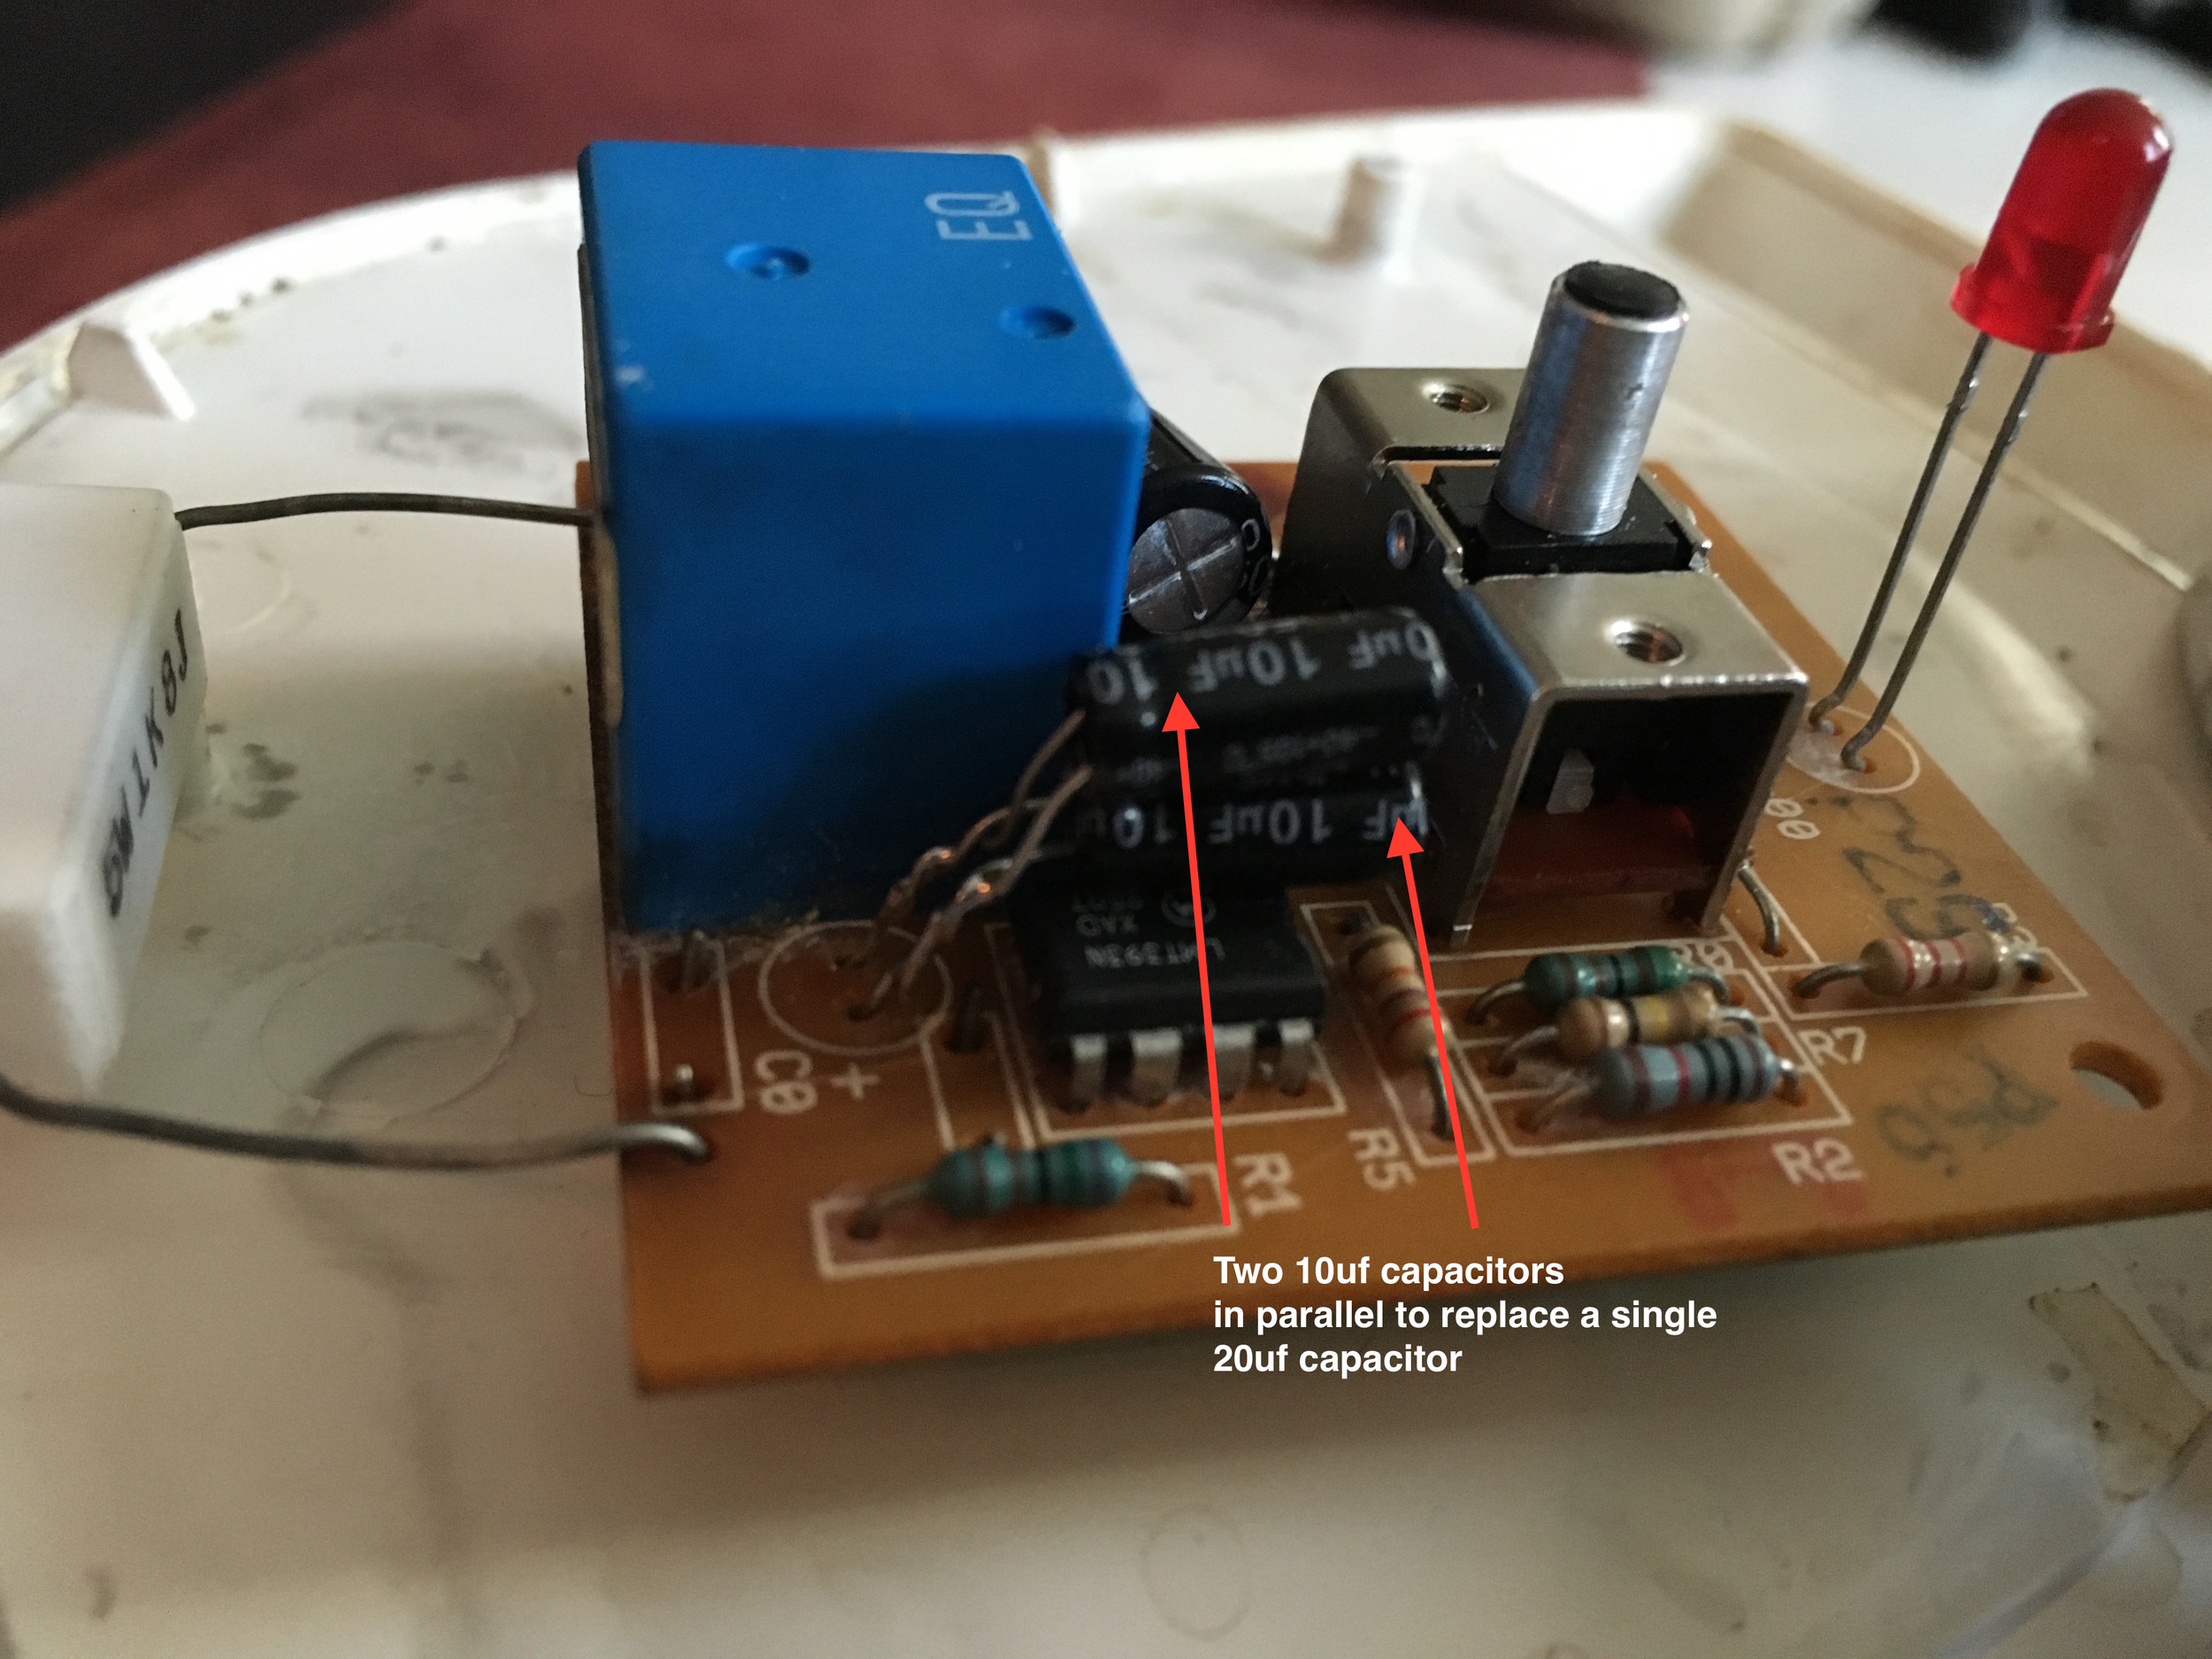
Once I understood that the electrolytic capacitors were bad, the repair was really easy. I didn't have the exact capacity capacitors I needed (a 50uf and a 20uf) but Josh showed me that we could use capacitors in series and parallel to get whatever values we needed. We used two 100uf capacitors in series to replace the 50uf capacitors, and two 10uf capacitors in parallel to replace the 20uf capacitor.
Once we replaced the capacitors, my TCM-411 started brewing again. It was a happy day.


